Gluten Free Hawaiian Rolls: A Cozy Treat for Any Occasion
As the seasons change and we transition from the heat of summer to the crisp air of fall, there’s something incredibly comforting about freshly baked bread wafting through the home. Gluten Free Hawaiian Rolls are a delightful addition to any meal, blending the sweet and savory that makes comfort food so satisfying. This recipe has become a reader favorite because it pairs well with hearty autumn soups or can stand alone as a sweet treat for gatherings and celebrations. You may also find Gluten Free Dinner Rolls 2 useful.
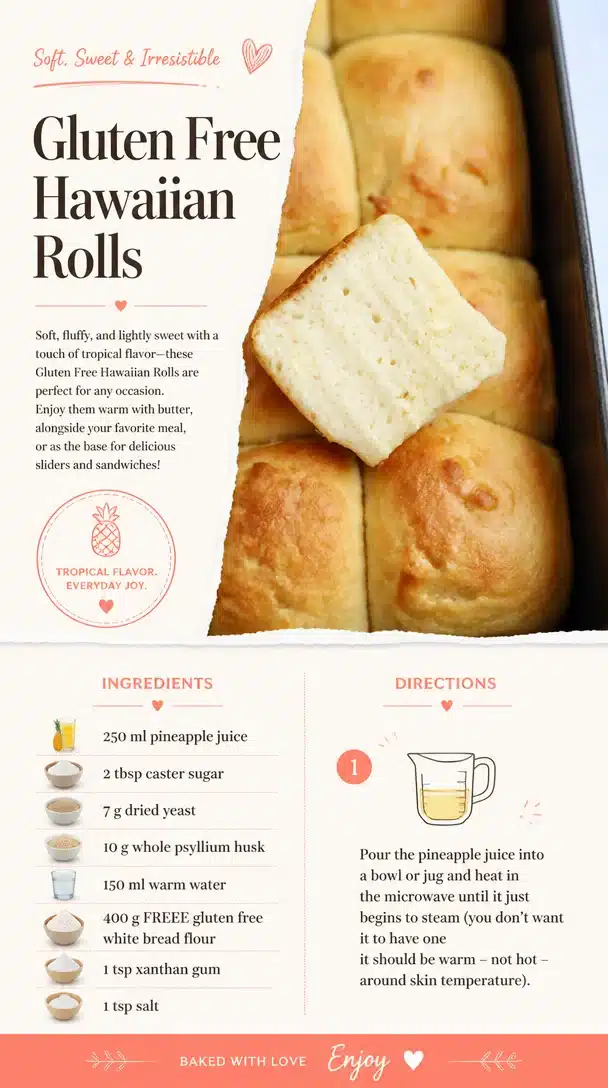
These rolls are soft, fluffy, and simply irresistible. Perfect for novice bakers and seasoned pros alike, let’s dive into this heartwarming recipe that encapsulates the essence of fall cooking. You may also find Gluten Free Dinner Rolls useful.
Ingredients for Gluten Free Hawaiian Rolls
Before we get started, let’s gather the essential ingredients you will need: You may also find Gluten Free Parker House Rolls useful.
- 2 cups gluten-free all-purpose flour
- 1/2 cup sugar
- 1 teaspoon salt
- 1 packet instant yeast (2 1/4 teaspoons)
- 1 cup warm milk or dairy-free alternative
- 1/4 cup melted butter or coconut oil
- 2 large eggs
- 1 teaspoon vanilla extract
- 1/2 cup crushed pineapple, drained
With these ingredients at the ready, you’ll create rolls that bring smiles and fill bellies.
Step-by-Step Instructions
Prepare the Dough: In a mixing bowl, combine gluten-free flour, sugar, salt, and yeast. Mix well to ensure even distribution of dry ingredients. In a separate bowl, whisk together the warm milk, melted butter or coconut oil, eggs, and vanilla extract.
Combine Wet and Dry Ingredients: Gradually add the wet mixture to the dry ingredients, stirring until well incorporated. The dough should be slightly sticky. Fold in the crushed pineapple, ensuring it’s evenly distributed throughout the mixture.
First Rise: Cover the bowl with a clean kitchen towel or plastic wrap and let the dough rise in a warm place for about 30-45 minutes, or until it has doubled in size.
Form the Rolls: Once risen, gently deflate the dough and scoop it out onto a lightly floured surface. Using your hands, divide the dough into 12 equal portions, rolling each into a ball.
Second Rise: Place the rolls on a greased baking dish, ensuring they are touching slightly. Cover again and let them rise for another 30 minutes.
Preheat and Bake: Preheat your oven to 350°F (175°C). Bake the rolls for 20-25 minutes, or until they are golden brown on top.
Cool and Serve: Allow the rolls to cool on a wire rack for a few minutes before serving. They are best enjoyed warm and fresh!
For those looking for a simpler version of gluten-free rolls, you might want to consider these easy gluten-free rolls, which are also perfect for any occasion.
Tips for Success
Choose the Right Flour: For best results, use a gluten-free flour blend that contains xanthan gum or add it separately to help provide structure.
Temperature Matters: Ensure your milk is warm (not hot) to provide the optimum conditions for yeast activation.
Don’t Rush the Rises: Allowing enough time for the dough to rise is crucial for achieving light and fluffy rolls.
Testing for Doneness: The rolls are done when they have a golden top and sound hollow when tapped.
Possible Variations
While this recipe captures the traditional Hawaiian roll essence, feel free to customize it:
Sweet Topping: Brush the tops of the rolls with melted butter and sprinkle with a bit of sugar before baking for a sweet crust.
Streusel Topping: Add a streusel topping made from gluten-free flour, butter, and brown sugar for an extra touch of sweetness.
Savory Additions: Incorporate herbs or spices into the dough for a savory twist, making them perfect for dinner rolls.
For those seeking more ideas, consider trying these delicious gluten-free crescent rolls that pair wonderfully with many dishes.
Storage Recommendations
To keep your Gluten Free Hawaiian Rolls fresh, store them in an airtight container at room temperature. They can last up to 3 days. For longer storage, freeze the rolls by placing them in a freezer-friendly bag or container, where they will keep for up to three months. When ready to enjoy, simply reheat them in the oven to restore their fluffy texture.
Frequently Asked Questions
1. Can I make these rolls dairy-free?
Yes! You can substitute the milk with any dairy-free alternative and the butter with a plant-based option.
2. How can I tell if my yeast is active?
To test yeast activity, mix it with warm water and a bit of sugar. If it bubbles after a few minutes, your yeast is good to go!
3. What can I serve with Gluten Free Hawaiian Rolls?
These rolls pair wonderfully with soups, stews, or can be enjoyed on their own with butter or jam.
4. Can I make the dough ahead of time?
Absolutely! You can prepare the dough and store it in the refrigerator overnight, but allow it to come to room temperature before shaping and baking.
Conclusion
Incorporating baked goods into your fall routine is a wonderful way to create warmth and comfort at home. If you’re looking for more delightfully gluten-free bread options, you might want to try making these Gluten Free Hawaiian Rolls. They’re perfect for any gathering or simply for enjoying with your loved ones as the days grow shorter and the air turns cooler. Enjoy your baking adventure!
Gluten Free Hawaiian Rolls
Ingredients
Main Ingredients
- 2 cups gluten-free all-purpose flour Use a blend that contains xanthan gum for best results.
- 1/2 cup sugar
- 1 teaspoon salt
- 1 packet instant yeast (about 2 1/4 teaspoons)
- 1 cup warm milk or dairy-free alternative Ensure it's warm, not hot.
- 1/4 cup melted butter or coconut oil
- 2 large eggs
- 1 teaspoon vanilla extract
- 1/2 cup crushed pineapple, drained
Instructions
Preparation
- In a mixing bowl, combine gluten-free flour, sugar, salt, and yeast. Mix well to ensure even distribution.
- In a separate bowl, whisk together the warm milk, melted butter or coconut oil, eggs, and vanilla extract.
- Gradually add the wet mixture to the dry ingredients, stirring until well incorporated. The dough should be slightly sticky.
- Fold in the crushed pineapple, ensuring it’s evenly distributed throughout the mixture.
First Rise
- Cover the bowl with a clean kitchen towel or plastic wrap and let the dough rise in a warm place for about 30-45 minutes, or until it has doubled in size.
Forming the Rolls
- Once risen, gently deflate the dough and scoop it onto a lightly floured surface. Divide the dough into 12 equal portions, rolling each into a ball.
Second Rise
- Place the rolls on a greased baking dish, ensuring they are touching slightly. Cover again and let them rise for another 30 minutes.
Baking
- Preheat your oven to 350°F (175°C). Bake the rolls for 20-25 minutes, or until they are golden brown on top.
- Allow the rolls to cool on a wire rack for a few minutes before serving. Best enjoyed warm and fresh.