
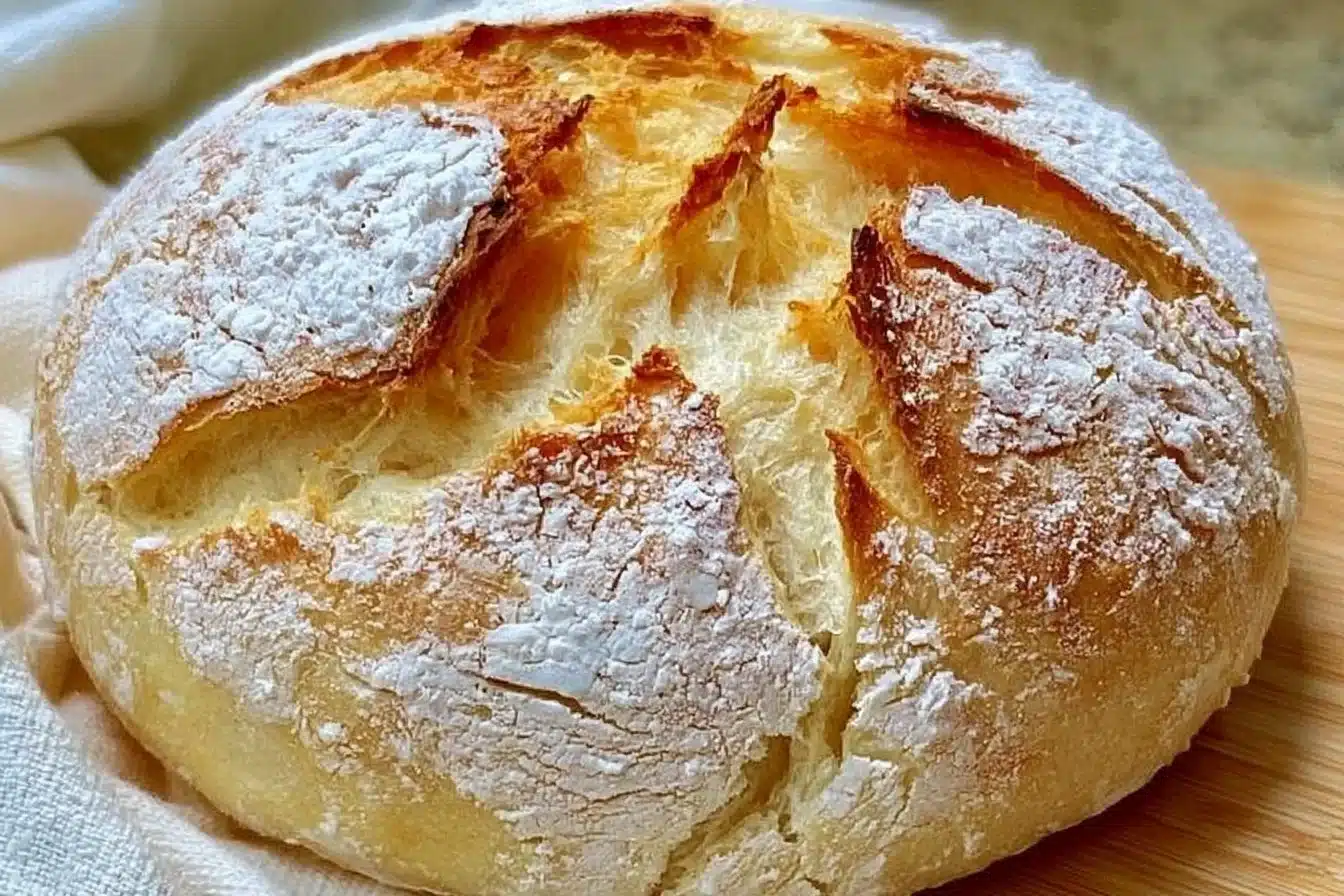
No Knead Gluten Free Bread: An Amazing Ultimate Recipe
As the crisp autumn air ushers in the cozy days of fall, what better way to embrace the season than by filling your home with the warm, inviting aroma of freshly baked bread? The scent of gluten free bread wafting through the house can evoke feelings of comfort and happiness. This No Knead Gluten Free Bread recipe is a reader favorite for many reasons. It is not only easy to make, but it also produces a crusty, artisan-like loaf that is sure to please even the most discerning palates. Let’s dive into this delicious recipe together!
Ingredients List
To make your No Knead Gluten Free Bread, you will need the following ingredients: You may also find No Boil Baked Gluten Free Pasta With Coconut Milk And Marinara Recipe useful.
- 2 cups gluten free all-purpose flour
- 1 tsp salt
- 1/2 tsp instant yeast
- 1 1/2 cups warm water
- Optional: various herbs and spices for flavor
These simple ingredients come together to create a lovely loaf that will be perfect for sandwiches, toasting, or enjoying with your favorite soup. You may also find Affordable Dinner Recipes Quick And Easy Gluten Free Meals useful.
Step-by-Step Instructions
Mix the Dry Ingredients: In a large bowl, combine the gluten free flour, salt, and instant yeast. Stir well to ensure everything is mixed thoroughly. You may also find Best 10 Gluten Free Vegan Recipes useful.
Add Water: Gradually pour in the warm water, mixing as you go. Aim for a thick, shaggy dough that is well combined. Unlike traditional dough, you won’t be kneading this mixture at all!
Let it Rise: Cover the bowl with plastic wrap or a damp kitchen towel. Allow the dough to rise for 12-18 hours at room temperature. This slow fermentation is what gives the bread its incredible flavor.
Shape the Dough: After the dough has risen, dust your work surface with some gluten free flour. Turn the dough out onto the floured surface and shape it into a round loaf. Be gentle, as you don’t want to deflate it too much.
Second Rise: Place the shaped dough on a parchment-lined baking sheet and cover it for another hour while your oven preheats to 450°F (230°C).
Bake: Place a Dutch oven (with lid) in the oven to preheat. Once ready, carefully remove the pot, place the dough inside, cover it, and bake for 30 minutes. After this, uncover and bake for an additional 15 minutes, or until the crust is a deep golden brown.
Cool: Allow your bread to cool on a wire rack for at least 30 minutes before slicing. This helps to firm up the texture.
Tips for Success
- Use a kitchen scale to measure your ingredients for the best precision.
- Consider adding a tablespoon of your favorite spices, such as rosemary or garlic powder, to enhance the flavor.
- For an even crustier loaf, try placing a dish of water in the oven while baking for added steam.
If you’re seeking to elevate your culinary repertoire further, explore options like the No Knead Gluten Free Artisan Bread for a different take on this beloved classic!
Possible Variations
- Herbed Bread: Mix in your favorite herbs for an aromatic touch.
- Streusel Topping: Create a sweet version with a streusel topping made from gluten-free oats, nuts, and cinnamon for a delightful breakfast treat.
- Bread Rolls: Shape the dough into individual rolls for a unique serving option.
Feel free to get creative with your variations, as this bread is versatile and adaptable to your taste!
Storage Recommendations
Store any leftover bread in an airtight container at room temperature for up to three days. You can also freeze slices of bread for longer storage; just pop them in a toaster whenever you’re ready to enjoy!
FAQs
Q1: Can I use regular flour instead of gluten free flour?
A1: No, this recipe is specifically designed for gluten free flour. Regular flour won’t yield the same consistency or flavor.
Q2: How can I tell when the bread is done?
A2: A good way to test is to tap the bottom of the loaf; it should sound hollow when fully baked.
Q3: Can I make this bread dairy-free?
A3: Yes, this bread recipe is already dairy-free, making it suitable for various dietary needs.
Q4: Why is there no kneading involved?
A4: The no-knead technique works through a long fermentation process, allowing gluten free flour to develop flavor and structure without the need for traditional kneading.
Conclusion
Making gluten free bread at home doesn’t have to be a daunting task. With this No Knead Gluten Free Bread: An Amazing Ultimate Recipe, you can enjoy fresh, delicious bread any day of the week. Baking offers a wonderful creative outlet, and this recipe is a perfect stepping stone. For other enticing variations and methods, check out No Knead Gluten Free Bread – The Modern Nonna. Happy baking!
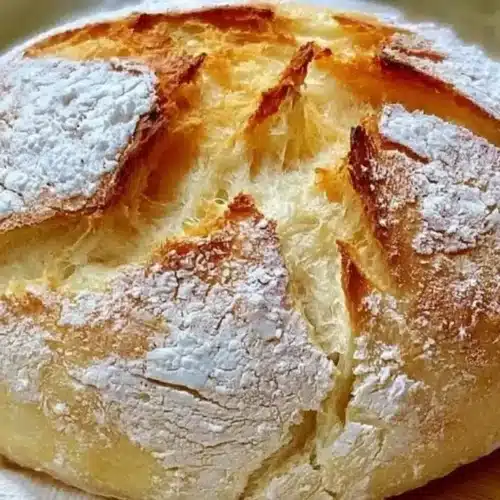
No Knead Gluten Free Bread
Ingredients
Main Ingredients
- 2 cups gluten free all-purpose flour
- 1 tsp salt
- 1/2 tsp instant yeast
- 1 1/2 cups warm water
- to taste various herbs and spices for flavor Optional
Instructions
Preparation
- In a large bowl, combine the gluten free flour, salt, and instant yeast. Stir well to ensure everything is mixed thoroughly.
- Gradually pour in the warm water, mixing as you go, to aim for a thick, shaggy dough.
- Cover the bowl with plastic wrap or a damp kitchen towel and allow the dough to rise for 12-18 hours at room temperature.
- Dust your work surface with gluten free flour, turn the dough onto the surface and shape it into a round loaf gently.
- Place the shaped dough on a parchment-lined baking sheet and cover it for another hour while the oven preheats to 450°F (230°C).
Baking
- Place a Dutch oven (with lid) in the oven to preheat.
- Carefully remove the pot, place the dough inside, cover it, and bake for 30 minutes.
- Uncover and bake for an additional 15 minutes, or until the crust is a deep golden brown.
Cooling
- Allow the bread to cool on a wire rack for at least 30 minutes before slicing.