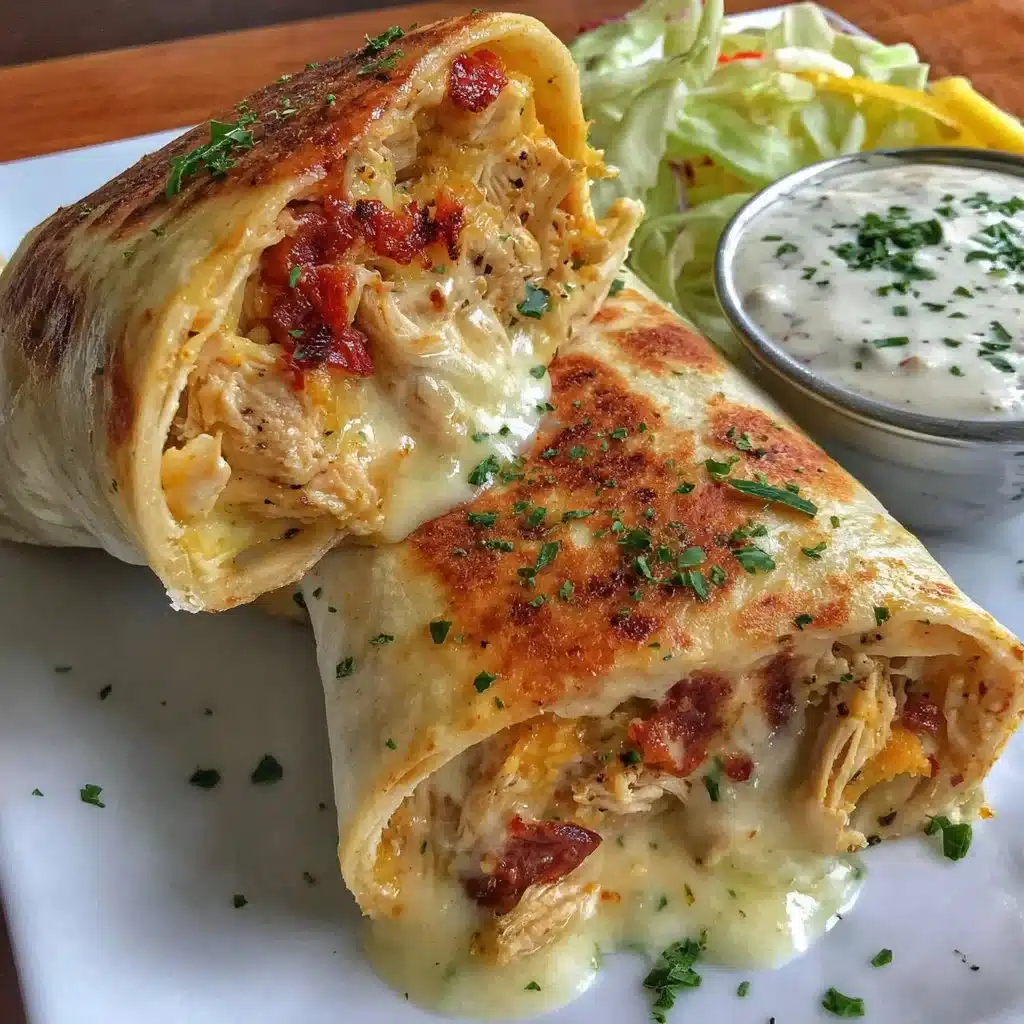
Low Carb Cheesy Garlic Chicken Wraps
A cool, coppery autumn evening, the scent of cinnamon in the air, and the soft glow of twinkling lights—this is the kind of night I love to curl up with a warm, savory wrap fresh from the oven. My Low Carb Cheesy Garlic Chicken Wraps are a reader favorite because they blend cozy comfort with bright garlic, melty cheese, and a low-carb twist that feels indulgent without the heaviness.
Introduction
These Low Carb Cheesy Garlic Chicken Wraps are perfect for home bakers who enjoy seasonal treats with a wholesome spin. If you like hearty casseroles and warm skillet dishes, you’ll find this recipe as comforting as a creamy low-carb chicken casserole and just as satisfying. The wraps are simple to assemble, forgiving for beginners, and easy to adapt to what’s in your pantry.
Ingredients
Makes 6 medium wraps
- 2 cups cooked shredded chicken (rotisserie-style or baked)
- 6 low-carb tortillas or flatbreads
- 1 cup shredded cheddar cheese
- 1/2 cup shredded mozzarella cheese
- 3 cloves garlic, minced
- 1/4 cup cream cheese, softened
- 1/4 cup plain Greek yogurt
- 1/4 cup chopped green onions
- 1 tablespoon olive oil
- 1 teaspoon dried oregano
- 1/2 teaspoon smoked paprika
- Salt and pepper to taste
- Optional: baby spinach or roasted red peppers for filling
If you love bowls and skillet meals, swap these wraps for a filling similar to an easy low-carb BBQ chicken bowl one night.
Step-by-step Instructions
- Prepare the filling
- Warm the olive oil in a skillet over medium heat. Add minced garlic and cook 30–45 seconds until fragrant.
- Stir in the shredded chicken, oregano, smoked paprika, salt, and pepper. Cook 2–3 minutes to warm through.
- Remove from heat and fold in cream cheese, Greek yogurt, and half of the shredded cheddar and mozzarella until creamy.
- Assemble the wraps
- Lay out each low-carb tortilla. Spoon about a half-cup of the chicken-cheese mixture into the center of each.
- Add a small handful of spinach or roasted red peppers if using. Sprinkle the remaining cheese over the top.
- Fold sides over and roll tightly, tucking in the ends.
- Crisp and melt
- Heat a nonstick skillet over medium heat. Lightly spray or brush with oil.
- Place wraps seam-side down and cook 2–3 minutes per side until golden brown and the cheese is melted.
- Transfer to a baking sheet and pop under a hot broiler for 1–2 minutes if you want extra bubbly, golden cheese.
- Rest and serve
- Let wraps rest 2 minutes before slicing. Serve warm with a crisp side salad or a bowl of 30-minute cauliflower chicken soup for a full autumn meal.
Tips for Success
- Don’t overstuff: Overfilling makes rolling messy. Keep about 1/2 cup of filling per tortilla for neat wraps.
- Warm the tortillas: Microwaving tortillas for 10 seconds makes them easier to roll without cracking.
- Cheese choice matters: A mix of cheddar and mozzarella gives both flavor and stretch. Freshly shredded melts better than pre-shredded blends.
- Make ahead: Prepare the filling a day in advance and assemble just before cooking for fresher texture.
- For crispier wraps, finish under the broiler briefly—watch closely to avoid burning.
If you like experimenting with skillet dinners, try using the same filling approach in a low-carb cabbage chicken skillet next time.
Possible Variations
- Gluten-free: Use certified gluten-free low-carb tortillas or wrap in large butter lettuce leaves for a light, crisp option similar to quick low-carb turkey lettuce wraps.
- Streusel topping (savory): For a playful fall twist, bake wraps seam-side down in a dish and sprinkle a savory streusel made from almond flour, grated Parmesan, chopped rosemary, melted butter, and a pinch of sea salt. Bake 8–10 minutes at 375°F until golden.
- Spicy: Add a chopped jalapeño or a dash of cayenne to the filling.
- Herb-forward: Swap oregano for fresh basil or thyme for seasonal herb flavor.
Storage Recommendations
- Refrigerator: Cool completely, wrap tightly in foil or airtight containers, and store up to 3 days.
- Freezer: Wrap individually and freeze up to 2 months. Thaw overnight in the fridge, then reheat in a 350°F oven for 10–12 minutes or in an air fryer for 6–8 minutes until warmed through.
- Reheating tip: To revive crispiness, reheat in a skillet or air fryer rather than the microwave; finish under the broiler for a few seconds if needed.
Conclusion
These Low Carb Cheesy Garlic Chicken Wraps are a versatile, cozy recipe that brings comforting fall flavors to the table without weighing you down. For another delicious take on cheesy garlic chicken, check out Cheesy Garlic Chicken Wraps – Cooked & Loved for extra inspiration.
FAQs
Are Low Carb Cheesy Garlic Chicken Wraps really low carb?
Yes — by using low-carb tortillas and focusing on high-protein fillings with minimal starchy fillers, these wraps keep net carbs low while staying satisfying.Can I freeze the wraps after cooking?
Absolutely. Wrap individually and freeze up to 2 months. Thaw in the fridge overnight and reheat in an oven or air fryer for best texture.What sides go well with these wraps?
Crisp green salads, roasted autumn vegetables, or a warm bowl of cauliflower-based soup pair beautifully to create a seasonal meal.How can I make these dairy-free?
Substitute cream cheese and cheeses with dairy-free alternatives and use a dairy-free yogurt. Nutritional yeast can add a cheesy flavor if needed.

Low Carb Cheesy Garlic Chicken Wraps
Ingredients
For the filling
- 2 cups cooked shredded chicken (rotisserie-style or baked)
- 3 cloves garlic, minced
- 1 tablespoon olive oil For cooking the garlic
- 1 teaspoon dried oregano
- 1/2 teaspoon smoked paprika
- 1/4 cup cream cheese, softened
- 1/4 cup plain Greek yogurt
- 1/4 cup chopped green onions
- 1 cup shredded cheddar cheese Use freshly shredded for best results
- 1/2 cup shredded mozzarella cheese Use freshly shredded for best results
For assembly
- 6 pieces low-carb tortillas or flatbreads
- Optional: baby spinach or roasted red peppers for filling Add for extra flavor and nutrition
Instructions
Prepare the filling
- Warm the olive oil in a skillet over medium heat. Add minced garlic and cook for 30–45 seconds until fragrant.
- Stir in the shredded chicken, oregano, smoked paprika, salt, and pepper. Cook for 2–3 minutes to warm through.
- Remove from heat and fold in cream cheese, Greek yogurt, and half of the shredded cheddar and mozzarella until creamy.
Assemble the wraps
- Lay out each low-carb tortilla. Spoon about a half-cup of the chicken-cheese mixture into the center of each.
- Add a small handful of spinach or roasted red peppers if using. Sprinkle the remaining cheese over the top.
- Fold sides over and roll tightly, tucking in the ends.
Crisp and melt
- Heat a nonstick skillet over medium heat. Lightly spray or brush with oil.
- Place wraps seam-side down and cook for 2–3 minutes per side until golden brown and the cheese is melted.
- Transfer to a baking sheet and pop under a hot broiler for 1–2 minutes if you want extra bubbly, golden cheese.
Rest and serve
- Let wraps rest for 2 minutes before slicing. Serve warm with a crisp side salad or a bowl of 30-minute cauliflower chicken soup for a full autumn meal.