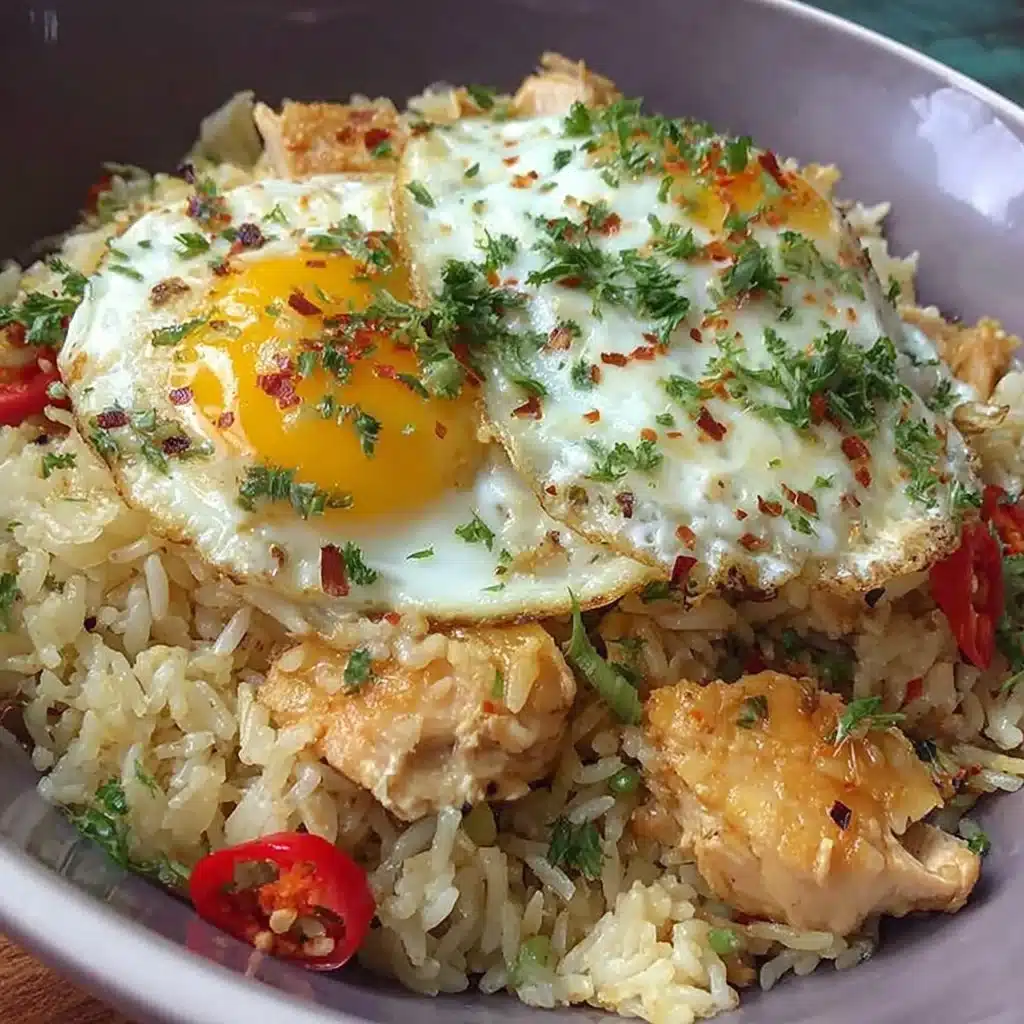
High Protein Crispy Garlic Chicken Fried Rice
I remember the first rainy October evening I tested this recipe—kitchen smelling like toasted garlic and warm soy, a blanket around my shoulders, and a bowl of High Protein Crispy Garlic Chicken Fried Rice steaming on the table. It quickly became a reader favorite because it tastes like comfort, fuels your day, and comes together fast for busy fall nights.
Introduction
This High Protein Crispy Garlic Chicken Fried Rice is perfect for home bakers and seasonal cooks who want something hearty and easy. It blends crispy pan-seared chicken with caramelized garlic, fluffy rice, and bright veggies for texture and flavor. If you’re planning a cozy week of warm, nourishing meals, pair this with a simple salad or follow a 7-day high-protein low-carb meal plan to keep your menu varied and satisfying. The recipe is forgiving, beginner-friendly, and designed to give you extra protein without sacrificing that indulgent, crispy edge.
Ingredients
Makes 4 servings
- 2 cups cooked long-grain rice (preferably day-old, for best texture)
- 1 lb boneless chicken breast, diced or thinly sliced
- 6–8 garlic cloves, thinly sliced
- 2 large eggs, lightly beaten
- 1 cup mixed frozen peas and carrots, thawed
- 3 tablespoons low-sodium soy sauce (or tamari)
- 1 tablespoon oyster sauce
- 2 tablespoons sesame oil
- 2–3 tablespoons vegetable oil, divided
- 2 green onions, thinly sliced
- Salt and pepper to taste
- Optional: red pepper flakes or Sriracha for heat
If you love protein-packed breakfasts as much as I do, try a plate of cottage cheese pancakes on a chilly morning to stay inspired (cottage cheese pancakes).
Step-by-step Instructions
- Prep everything first: have your rice, chicken, garlic, eggs, and sauces ready. This stir-fry moves quickly.
- Heat 1 tablespoon vegetable oil in a large skillet or wok over medium-high heat. Add the chicken in a single layer, season with salt and pepper, and let it sear without moving for 2–3 minutes to develop a golden crust. Stir and cook until just done. Remove chicken and set aside.
- In the same pan, add the sesame oil and remaining oil. Add sliced garlic and cook over medium heat until deeply golden and crispy, about 2–3 minutes. Watch closely—garlic burns fast. Remove half the garlic to a plate to use as a crunchy topping.
- Push garlic and oil to the side of the pan, pour in the beaten eggs, and scramble quickly until just set. Mix eggs with garlic.
- Add rice to the pan, breaking up any clumps. Stir-fry for 2–3 minutes to warm and crisp slightly.
- Return chicken to the pan along with peas and carrots. Drizzle soy sauce and oyster sauce over everything and toss to combine. Stir until the rice is evenly coated and heated through.
- Finish with sliced green onions and the reserved crispy garlic on top. Serve hot.
For a one-pot twist that keeps cleanup minimal on busy nights, see this comforting chicken-and-rice idea (gluten-free one-pot green chili chicken rice).
Tips for Success
- Use day-old rice: It’s drier and fries up crispier than freshly cooked rice. If you must use fresh rice, spread it on a tray to cool and dry for 20–30 minutes.
- Don’t overcrowd the pan: Cook in batches if needed to maintain a good sear on the chicken and avoid steaming.
- Crisp garlic carefully: Lower the heat if slices start to brown too fast; remove early to prevent bitterness.
- Adjust protein: Swap chicken for turkey or tempeh for a plant-forward version while keeping the same method.
- For more grain variety, try this quinoa-based bowl as inspiration for swapping rice while maintaining high protein content (gluten-free high-protein quinoa bowl).
Possible Variations
- Gluten-free: Use tamari instead of soy sauce and ensure oyster sauce is labeled gluten-free.
- Extra-crispy chicken: Coat chicken lightly in cornstarch before searing for a crunchier finish.
- Streusel-style topping (savory): Mix panko (or gluten-free crumbs), a little melted butter, and minced garlic, then toast separately and sprinkle on top for a surprising crunch reminiscent of a streusel texture.
- Mediterranean twist: Add olives and lemon zest and serve with roasted veggies for a different flavor profile (inspired by Greek chicken bowls with brown rice).
Storage Recommendations
- Refrigerate: Store leftovers in an airtight container for up to 3 days. Reheat in a skillet over medium heat for best texture—add a splash of water if it seems dry.
- Freeze: Cool completely, then freeze in single-portion containers for up to 2 months. Thaw in the refrigerator overnight and reheat on the stovetop.
- To revive crispiness: Finish reheated portions in a hot skillet with a drizzle of oil for 1–2 minutes to bring back a bit of crunch.
Conclusion
This High Protein Crispy Garlic Chicken Fried Rice is a cozy, nourishing recipe you’ll return to again and again during cool-weather months. For another garlic-forward take and additional inspiration, check out this Garlic Chicken Fried Rice Recipe – Spice Bangla that complements the flavors in this dish.
Frequently Asked Questions
Can I make High Protein Crispy Garlic Chicken Fried Rice vegetarian?
Yes. Swap chicken for extra-firm tofu or tempeh, press and pan-sear until golden. Increase eggs or add edamame for more protein if desired.Is it okay to use freshly cooked rice?
You can, but day-old rice performs best. If using fresh rice, spread it on a tray to cool and dry for 20–30 minutes to reduce moisture.How do I prevent the garlic from burning?
Cook sliced garlic over medium heat, stirring constantly, and remove when it turns golden. If the pan gets too hot, lower the heat immediately.Can I meal prep this dish for the week?
Absolutely. Store in airtight containers in the fridge for up to 3 days or freeze portions for longer storage. Reheat in a skillet to restore texture.

High Protein Crispy Garlic Chicken Fried Rice
Ingredients
Main Ingredients
- 2 cups cooked long-grain rice (preferably day-old) For best texture, day-old rice is recommended.
- 1 lb boneless chicken breast, diced or thinly sliced
- 6–8 cloves garlic, thinly sliced
- 2 large eggs, lightly beaten
- 1 cup mixed frozen peas and carrots, thawed
- 3 tablespoons low-sodium soy sauce (or tamari)
- 1 tablespoon oyster sauce Use gluten-free if needed.
- 2 tablespoons sesame oil
- 2–3 tablespoons vegetable oil, divided For frying.
- 2 stalks green onions, thinly sliced
- Salt and pepper to taste
- Optional: red pepper flakes or Sriracha for heat
Instructions
Preparation
- Prep everything first: have your rice, chicken, garlic, eggs, and sauces ready. This stir-fry moves quickly.
Cooking
- Heat 1 tablespoon vegetable oil in a large skillet or wok over medium-high heat. Add the chicken in a single layer, season with salt and pepper, and let it sear without moving for 2–3 minutes to develop a golden crust. Stir and cook until just done. Remove chicken and set aside.
- In the same pan, add the sesame oil and remaining oil. Add sliced garlic and cook over medium heat until deeply golden and crispy, about 2–3 minutes. Watch closely—garlic burns fast. Remove half the garlic to a plate to use as a crunchy topping.
- Push garlic and oil to the side of the pan, pour in the beaten eggs, and scramble quickly until just set. Mix eggs with garlic.
- Add rice to the pan, breaking up any clumps. Stir-fry for 2–3 minutes to warm and crisp slightly.
- Return chicken to the pan along with peas and carrots. Drizzle soy sauce and oyster sauce over everything and toss to combine. Stir until the rice is evenly coated and heated through.
- Finish with sliced green onions and the reserved crispy garlic on top. Serve hot.