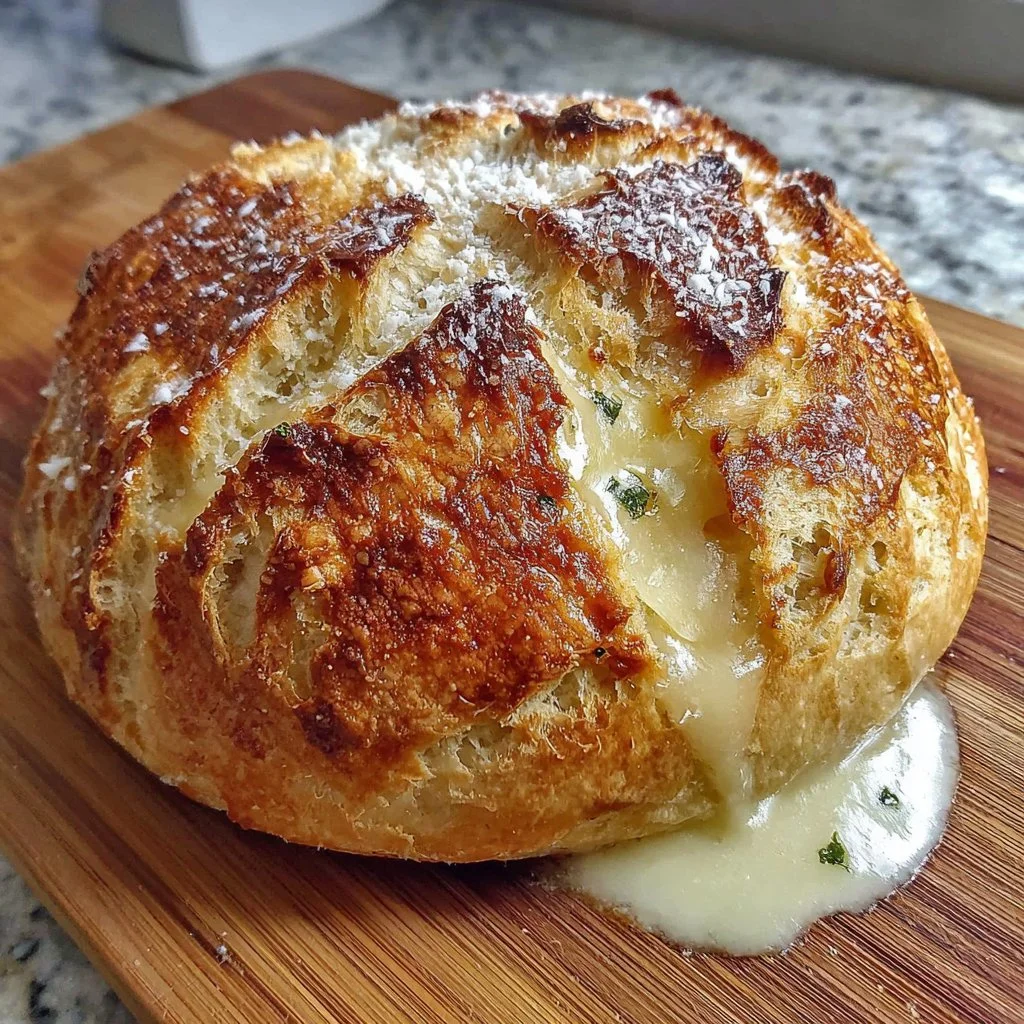
No Knead Gluten Free Bread: A Cozy Fall Delight
As the leaves turn vibrant shades of orange and gold, there’s an undeniable charm in the air that invites us to embrace the comforts of home. Autumn is here, and with it, the scent of warm, freshly baked bread wafting through the kitchen. Imagine a loaf of No Knead Gluten Free Bread, golden and crusty on the outside, light and tender on the inside, ready to be slathered with butter or enjoyed alongside a hearty soup. This recipe has quickly become a favorite among home bakers seeking a delicious, hassle-free way to enjoy gluten-free bread. With minimal effort and fantastic results, you’ll want to keep this in your autumn baking repertoire!
Ingredients List
Before we dive into the baking process, let’s gather our ingredients. You’ll love how simple and accessible they are!
- 3 cups gluten-free flour blend (make sure it’s a good cross-link blend)
- 1 teaspoon salt
- 1 teaspoon baking powder
- 1 teaspoon active dry yeast
- 1 ½ cups warm water (around 110°F or 43°C)
- 1 tablespoon honey or maple syrup (to keep it natural)
- Optional: ¼ cup olive oil for added richness
Step-by-Step Instructions
Let’s make your cozy loaf of No Knead Gluten Free Bread! Follow these easy steps to create a scrumptious bread perfect for any fall gathering.
Mix the Dry Ingredients: In a large mixing bowl, whisk together the gluten-free flour, salt, baking powder, and active dry yeast until well combined.
Combine Wet Ingredients: In another bowl, mix the warm water (ensure it’s not too hot) with honey or maple syrup and olive oil, if using.
Combine the Mixtures: Slowly pour the wet ingredients into the dry mix, stirring with a wooden spoon or spatula until a thick batter forms. Don’t fret if it looks slightly lumpy; that’s perfectly fine!
Let It Rise: Cover the bowl with a clean dish towel or plastic wrap and let the dough rise in a warm place for about 2 hours, or until it has visibly expanded.
Preheat the Oven: Preheat your oven to 425°F (220°C) while the dough is rising.
Shape the Dough: Once risen, lightly flour a clean surface with gluten-free flour. Turn the dough out onto the floured surface and shape it gently into a ball, being careful not to overwork it.
Prepare for Baking: Grease a baking sheet with parchment paper or sprinkle it with cornmeal to prevent sticking. Place the dough ball onto the sheet.
Bake the Bread: Bake for 30-35 minutes or until the bread is golden brown and sounds hollow when tapped on the bottom.
Cool and Enjoy: Remove from the oven and let the bread cool on a wire rack for at least 15 minutes before slicing. This will help maintain its texture!
Tips for Success
To ensure your No Knead Gluten Free Bread turns out perfectly every time, keep these tips in mind:
Choose the Right Flour: A balanced gluten-free flour blend with xanthan gum will give you the best texture. You can also experiment with your favorite blends.
Temperature Matters: Make sure your water is warm (not hot) when activating the yeast. If it’s too hot, it can kill the yeast!
Patience is Key: Allow the dough ample time to rise and develop flavor. Don’t rush this step!
Possible Variations
Feeling adventurous? Here are some variations to try with your bread:
Herb Infusion: Add dried herbs like rosemary or thyme into the mix for a savory twist perfect for pairing with soups.
Streusel Topping: Mix together ½ cup gluten-free flour, ½ cup oats, 1/4 cup brown sugar, and 1/4 cup melted coconut oil. Sprinkle this on top before baking for a sweet, crunchy topping.
Add-Ins: Experiment with ingredients like sunflower seeds, pumpkin seeds, or dried cranberries for added texture and flavor.
Storage Recommendations
Your No Knead Gluten Free Bread will be at its peak taste when fresh, but here are some tips for storage:
Room Temperature: Store the bread in a bread box or an airtight container at room temperature for up to three days.
Freezing: For longer storage, slice the bread and freeze it in a ziplock bag. When you’re ready to eat, simply toast slices directly from the freezer!
Conclusion
There you have it! Your very own delicious No Knead Gluten Free Bread, perfect for fall gatherings or a cozy night in. The simplicity and warmth of this recipe will surely make it a staple in your kitchen. If you’re looking for more delightful gluten-free bread alternatives to explore, check out this great resource. Happy baking, and may your home always be filled with the comforting aroma of freshly baked bread!
FAQs
Can I use regular flour instead of gluten-free flour?
- This recipe is specifically designed for gluten-free flour. Regular flour will not yield the same results.
How long does the bread last?
- It can last up to three days at room temperature or can be frozen for up to three months.
Can I use different sweeteners?
- Yes, you can substitute honey with maple syrup or agave nectar for a vegan option.
Is this recipe suitable for beginners?
- Absolutely! This No Knead Gluten Free Bread recipe is easy and very forgiving, making it perfect for novice bakers.

No Knead Gluten Free Bread
Ingredients
Dry Ingredients
- 3 cups gluten-free flour blend Make sure it's a good cross-link blend
- 1 teaspoon salt
- 1 teaspoon baking powder
- 1 teaspoon active dry yeast
Wet Ingredients
- 1.5 cups warm water Around 110°F or 43°C
- 1 tablespoon honey or maple syrup To keep it natural
- 0.25 cups olive oil Optional for added richness
Instructions
Preparation
- In a large mixing bowl, whisk together the gluten-free flour, salt, baking powder, and active dry yeast until well combined.
- In another bowl, mix the warm water with honey or maple syrup and olive oil, if using.
- Slowly pour the wet ingredients into the dry mix, stirring with a wooden spoon or spatula until a thick batter forms.
- Cover the bowl with a clean dish towel or plastic wrap and let the dough rise in a warm place for about 2 hours, or until it has visibly expanded.
- Preheat your oven to 425°F (220°C) while the dough is rising.
- Once risen, lightly flour a clean surface with gluten-free flour and turn the dough out onto the floured surface, shaping it gently into a ball.
- Grease a baking sheet with parchment paper or sprinkle it with cornmeal to prevent sticking, and place the dough ball onto the sheet.
Baking
- Bake for 30-35 minutes or until the bread is golden brown and sounds hollow when tapped on the bottom.
- Remove from the oven and let the bread cool on a wire rack for at least 15 minutes before slicing.