
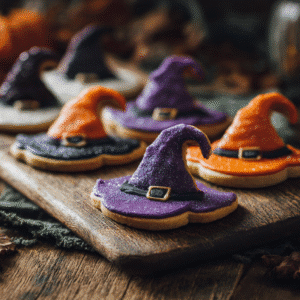
When crisp leaves crunch underfoot and the scent of cinnamon fills the air, it can only mean one thing Halloween is near. And there’s no better way to usher in the season than with a tray of freshly baked Witches’ Hat Cookies. These whimsical treats are as fun to make as they are to eat, with a festive chocolate base, a kiss of orange frosting, and a magical chocolate kiss topping each “hat.” Whether you’re baking for a party, your kids’ classroom, or just a quiet night in with a mug of cider, this recipe delivers on both flavor and fun.
These cookies are a fan-favorite on GoldenGlutenFree.com for good reason they’re charming, simple, and entirely gluten-free. And if you’re looking for more fall delights, you might love these Gluten-Free Apple Crisp or Mini Gluten-Free Vegan Apple Muffins to complement your cookie tray.
Witches’ Hat Cookies
Equipment
- mixing bowls
- electric mixer
- measuring cups and spoons
- baking sheets
- parchment paper
- cooling rack
- piping bag or zip-top bag
Ingredients
- 1 1/4 cups gluten-free all-purpose flour (with xanthan gum)
- 1/3 cup unsweetened cocoa powder
- 1/2 teaspoon baking soda
- 1/4 teaspoon fine sea salt
- 1/2 cup softened unsalted butter (or dairy-free alternative)
- 1/2 cup granulated sugar
- 1/2 cup packed light brown sugar
- 1 large egg
- 1 teaspoon pure vanilla extract
- 1/2 cup unsalted butter, softened (for frosting)
- 1 1/2 cups powdered sugar
- 1/2 teaspoon pure vanilla extract (for frosting)
- 2 tablespoons milk of choice (or non-dairy)
- Orange gel food coloring (or mix red and yellow)
- 24 gluten-free chocolate kiss candies, unwrapped
- Halloween sprinkles (optional)
- Piping bag or zip-top bag for decorating
Instructions
- Preheat your oven to 350°F (175°C) and line two baking sheets with parchment paper.
- In a medium bowl, whisk together the gluten-free flour, cocoa powder, baking soda, and salt.
- In a large mixing bowl, beat the butter with the sugars until light and fluffy, about 2 minutes.
- Add in the egg and vanilla, mixing until fully combined.
- Gradually add the dry ingredients to the wet mixture, stirring until a soft dough forms.
- Scoop dough into 1-inch balls and place them 2 inches apart on the prepared baking sheets.
- Flatten each ball gently with your palm to form a flat disc, the base of the hat.
- Bake for 8–10 minutes until the edges are set. Let cool completely on a wire rack.
- Beat the softened butter until creamy. Add powdered sugar, vanilla, and milk. Mix until smooth.
- Stir in orange gel food coloring until your desired shade is reached.
- Pipe a ring of orange frosting in the center of each cookie.
- Press a chocolate kiss into the center of the frosting to form the hat. Add optional sprinkles.
- Let cookies set for 15 minutes before serving or storing.
Notes
Nutrition
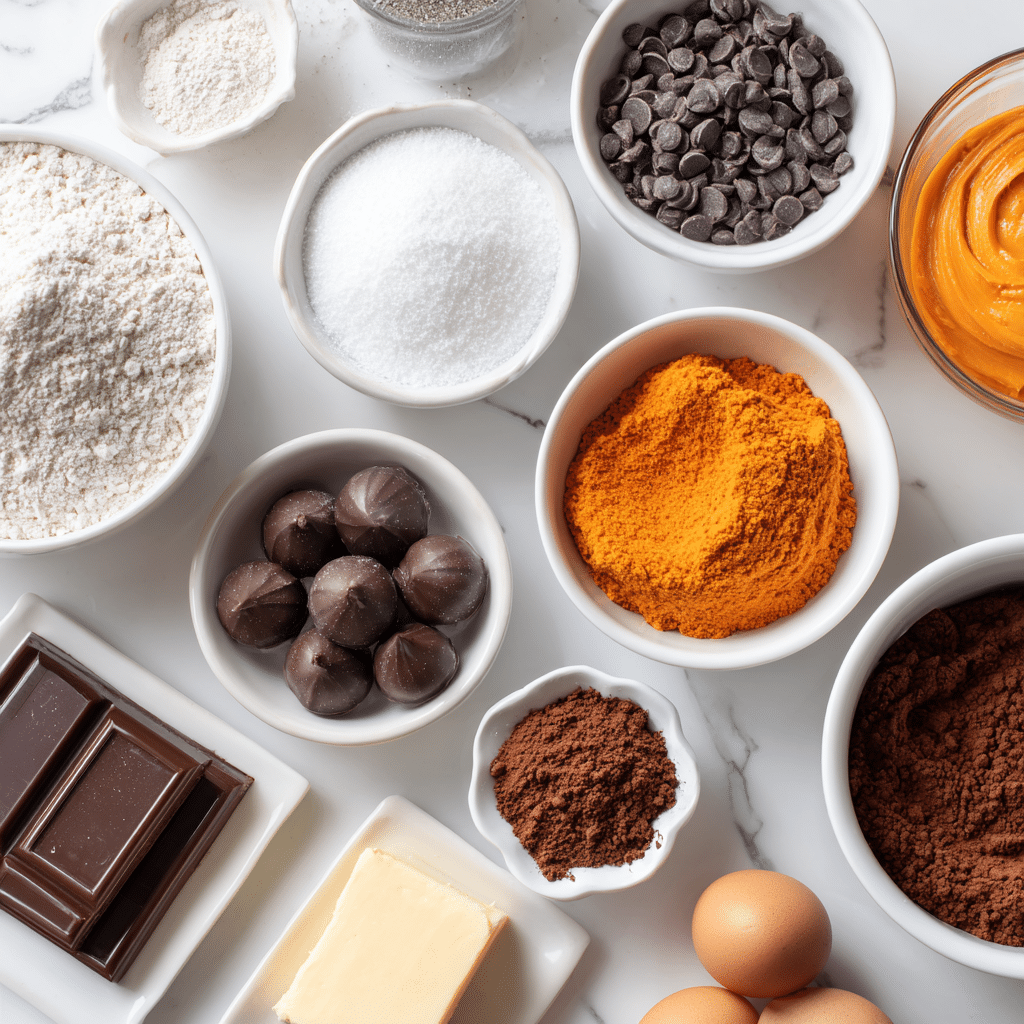
Ingredients for Witches’ Hat Cookies
Before you preheat the oven, here’s a complete list of ingredients. This recipe makes about 24 cookies and is beginner-friendly. All components are naturally gluten-free or include accessible substitutions.
For the Cookie Base:
- 1 1/4 cups gluten-free all-purpose flour (with xanthan gum)
- 1/3 cup unsweetened cocoa powder
- 1/2 teaspoon baking soda
- 1/4 teaspoon fine sea salt
- 1/2 cup softened unsalted butter (or dairy-free alternative)
- 1/2 cup granulated sugar
- 1/2 cup packed light brown sugar
- 1 large egg
- 1 teaspoon pure vanilla extract
For the Frosting “Buckle”:
- 1/2 cup unsalted butter, softened
- 1 1/2 cups powdered sugar
- 1/2 teaspoon pure vanilla extract
- 2 tablespoons milk of choice (or non-dairy)
- Orange gel food coloring (or mix red and yellow for DIY orange)
For Decoration:
- 24 gluten-free chocolate kiss candies, unwrapped
- Halloween sprinkles (optional)
- Piping bag or zip-top bag for decorating
Need more cookie inspiration? These Gluten-Free Shortbread Cookies offer a buttery base perfect for any season, and you’ll love the simplicity of No-Fail Gluten-Free Brownies for your next dessert table.
Step by Step Instructions
1. Make the Chocolate Cookie Base
- Preheat your oven to 350°F (175°C) and line two baking sheets with parchment paper.
- In a medium bowl, whisk together the gluten-free flour, cocoa powder, baking soda, and salt.
- In a large mixing bowl, beat the butter with the sugars until light and fluffy about 2 minutes.
- Add in the egg and vanilla, mixing until fully combined.
- Gradually add the dry ingredients to the wet, stirring until a soft dough forms.
2. Shape and Bake
- Scoop dough into 1-inch balls and place them 2 inches apart on the prepared baking sheets.
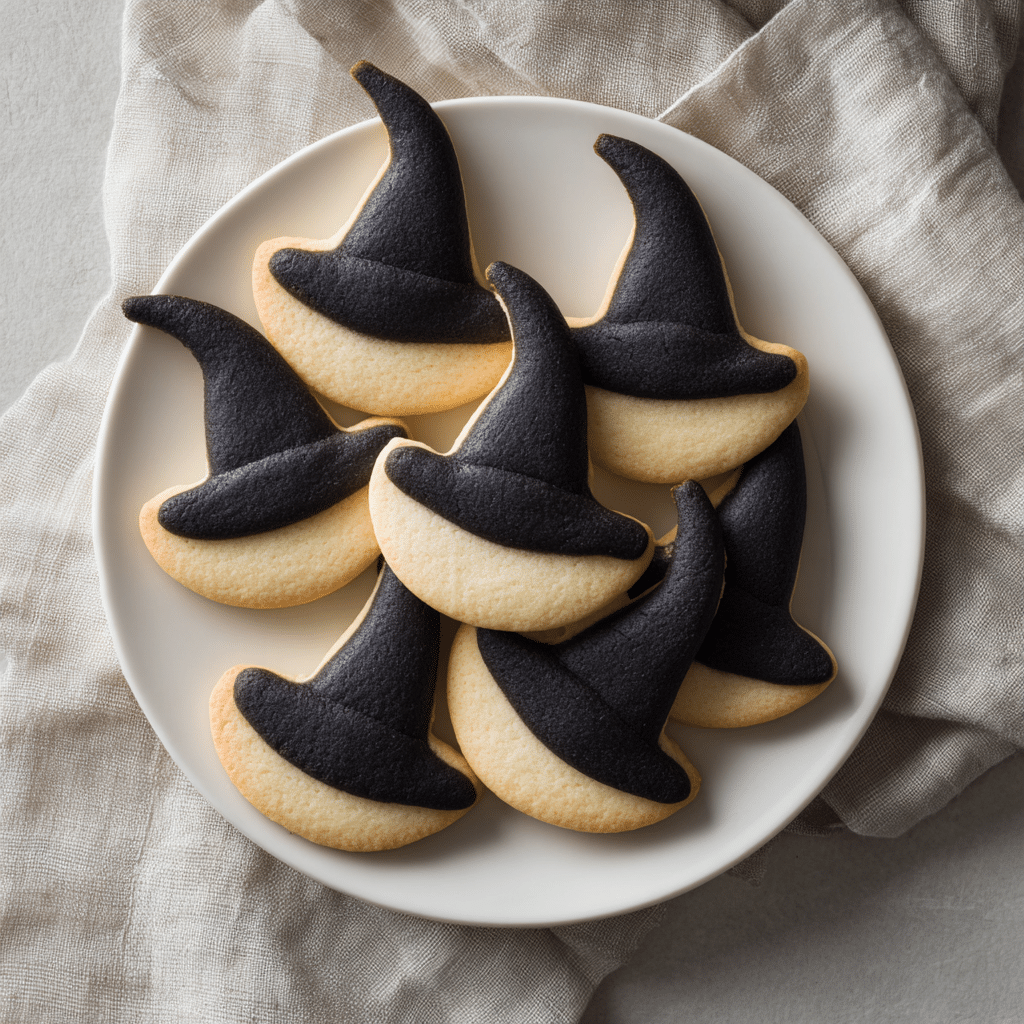
- Flatten each ball gently with your palm to form a flat disc the base of the hat.
- Bake for 8–10 minutes, just until the edges are set. Let them cool completely on a wire rack.
3. Prepare the Frosting “Buckle”
- Beat the softened butter in a bowl until creamy.
- Add powdered sugar, vanilla, and milk, beating until smooth.
- Stir in orange gel coloring until your desired shade is reached.
4. Assemble the Hats
- Pipe a ring of orange frosting in the center of each cookie.
- Press a chocolate kiss into the middle, forming the hat point.
- Optionally, add Halloween sprinkles around the base for flair.
- Let set for 15 minutes before serving or storing.
Looking for more no-bake treats this season? Try these Gluten-Free Chocolate Truffle Pops or the silky 10-Minute Gluten-Free Chocolate Mousse.
Tips for Success
- Use Room Temperature Ingredients: Cold butter or eggs can affect your dough texture.
- Go easy on flour: Measure flour carefully using a spoon-and-level method to avoid dryness.
- Don’t overbake: These cookies firm up as they cool, so pull them out when edges are just set.
Need a reliable dessert base for all seasons? Our Gluten-Free Dessert Recipes collection offers a variety of seasonal sweets you can count on.
Variations
Make It Dairy-Free
Swap the butter with plant-based alternatives and use dairy-free chocolate kisses for a cookie everyone can enjoy.
Add a Streusel Twist
Press a sprinkle of brown sugar-oat streusel on top before baking for an unexpected crunch.
For the Minimalist Baker
Skip the frosting and press the kiss directly into a warm cookie right after baking.
Looking for elegant handheld bites? These Gluten-Free Cheesecake Bites are another crowd-pleaser you’ll want on your holiday table.
Storage Recommendations
- Room Temperature: Store in an airtight container for up to 4 days.
- Make-Ahead Dough: You can refrigerate the dough for up to 2 days or freeze for up to 1 month.
- Decorated Cookies: Best enjoyed within 3 days for the freshest texture and appearance.
If you’re prepping ahead for a Halloween party, these cookies pair beautifully with Gluten-Free Lemon Bars or even a platter of 5-Ingredient Chocolate Chip Cookies.
Frequently Asked Questions About Witches’ Hat Cookies
What are Witches’ Hat Cookies made of?
Witches’ Hat Cookies are typically made with a soft chocolate cookie base, a ring of frosting, and a chocolate kiss pressed into the center to create the shape of a witch’s hat. Our version is gluten-free and uses simple pantry ingredients that are safe for sensitive eaters.
Can I make Witches’ Hat Cookies ahead of time?
Yes! You can make the cookies up to 2 days in advance and store them in an airtight container. The frosting and decorations can be added the same day you serve them. You can also freeze the baked (undecorated) cookie bases for up to one month.
Can kids help make these cookies?
Absolutely. This is a great family-friendly baking activity. Kids can help mix the dough, press out the cookie bases, and especially love decorating with frosting and sprinkles. Just be sure an adult handles the baking step.
Are Witches’ Hat Cookies only for Halloween?
While they’re perfect for Halloween parties and spooky treats, you can customize the colors and sprinkles for other occasions too think red and green for Christmas elf hats, or pastel colors for spring-themed hats.
Conclusion: A Sweet Spell for Halloween Magic
Witches’ Hat Cookies are more than just a fun holiday treat they’re a chance to bake memories with your family and friends. With their eye-catching design and rich, chocolatey bite, they’ve become a beloved tradition on our fall table. And best of all? They’re completely gluten-free, so no one is left out of the fun.
Whether you’re serving them at a party or packing them into school lunchboxes, these cookies bring whimsy and joy to every bite. If you’re looking for more gluten-free seasonal recipes, don’t miss our Gluten-Free Blueberry Coffee Cake or a no-fail dessert like Mochi Brownies to round out your table.