
gluten free brownie pudding is my go to dessert for those nights when I want something warm and chocolatey, but I do not want to fuss with layers or fancy decorating. You know that feeling when brownies sound great, but you also want something softer, almost spoonable? That is exactly what this is. It bakes up with a fudgy top and a rich pudding like center that tastes like it came from a restaurant. I have served it to gluten free friends and people who eat everything, and nobody feels like they are missing out. Let me show you how I make it without stress. 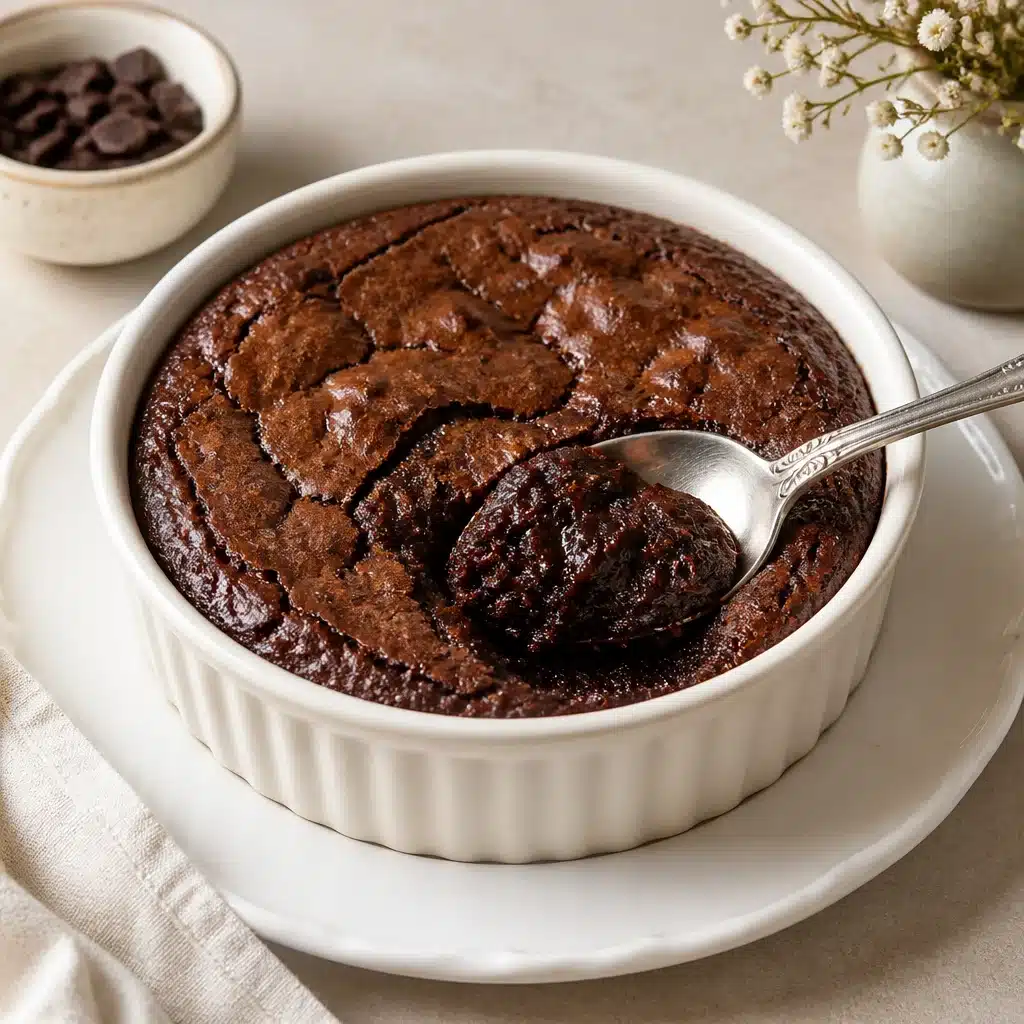
Why You’ll Love This Recipe
This dessert hits that sweet spot between a classic brownie and a cozy pudding cup. It is bold chocolate flavor, a little gooey in the middle, and it looks super impressive when you scoop it out warm.
Here is why I keep coming back to it:
- It is forgiving. Even if you bake it a couple minutes extra, it is still delicious.
- It feels fancy, but it is easy. One bowl, simple steps, no weird techniques.
- Great for guests. You can serve it with ice cream and suddenly everyone is quiet at the table.
- Perfect gluten free texture. No dry, crumbly vibe. Just fudgy and rich.
If you are on a brownie kick lately, you might also like my favorite basic pan brownies. I usually point people to this one when they want something straightforward: no-fail gluten-free brownies. And if you want a list of beginner friendly sweets for your rotation, I saved a bunch here: 10 easy gluten-free desserts for beginners.
Brownie Pudding Ingredients & Tested Substitutions
I have made this gluten free brownie pudding enough times to know what swaps work and which ones can mess with the texture. The goal is a shiny brownie top with a soft center, so we keep the ingredients simple.
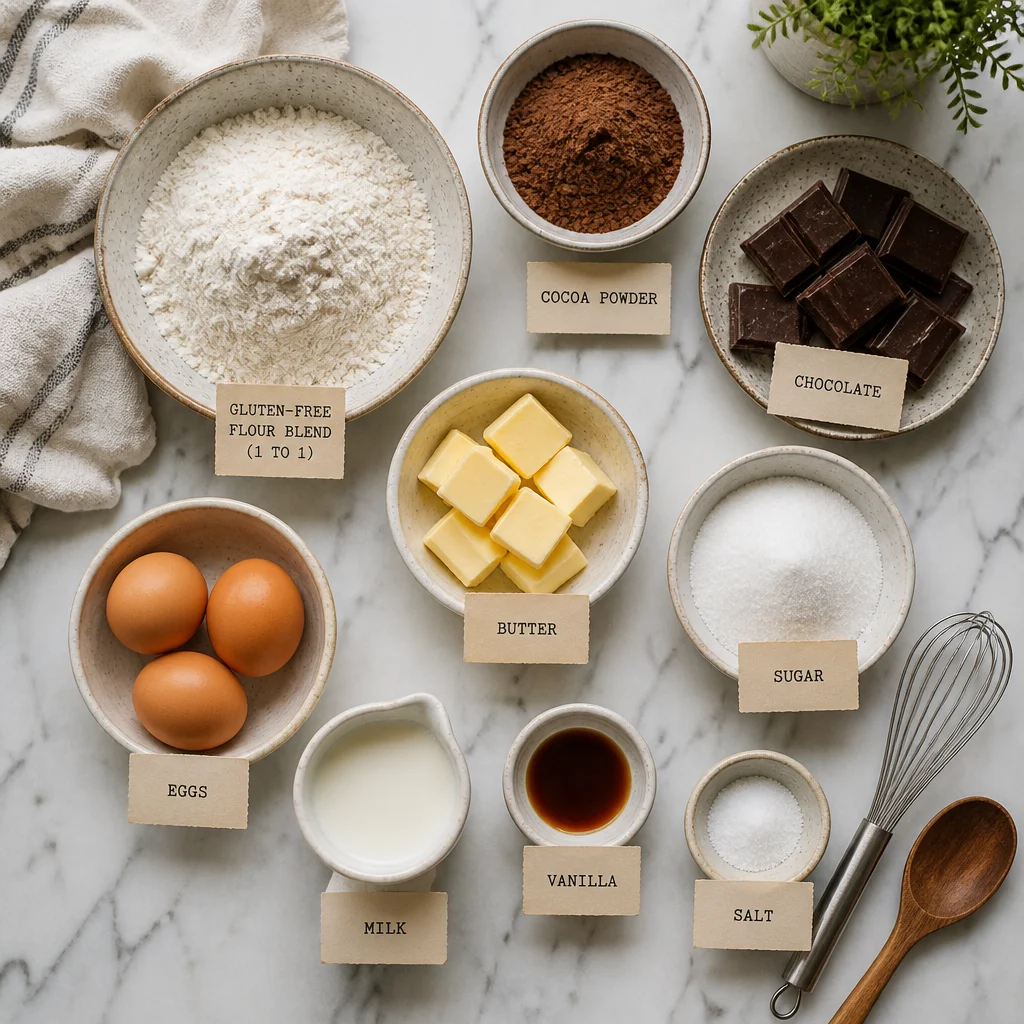
What you will need
- Gluten free flour blend (1 to 1): I use one with xanthan gum already in it. If yours does not have it, add a tiny bit, about 1/4 teaspoon.
- Cocoa powder: Unsweetened. Dutch process or natural both work.
- Chocolate: A chopped bar or chips. This helps the pudding center taste deep and rich.
- Butter: Gives that classic brownie flavor. Melted coconut oil works, but it tastes slightly different.
- Sugar: Regular white sugar is perfect. Brown sugar can be used for a softer, slightly caramel note.
- Eggs: For structure and that fudgy bite on top.
- Milk: Any milk works. I have used oat milk and almond milk with no problems.
- Vanilla and salt: Do not skip the salt. It makes the chocolate pop.
My favorite substitution notes:
Dairy free: Use plant butter or coconut oil plus dairy free chocolate and your favorite non dairy milk.
Less sweet: You can reduce the sugar a little, but do not cut it in half. Sugar helps create that shiny brownie top.
Extra chocolate chunks: Always a yes. Fold in a handful right before baking.
If you are the kind of person who loves exploring brownie variations, these are fun rabbit holes: decadent easy gluten-free brownies and these gluten-free tiramisu brownies when you want coffee and cocoa together.
Brownie Pudding Step by Step Instructions
{video_youtube}
This is the part where you realize it is basically brownie batter, but we pour it a little differently so it bakes into that pudding like center. I usually bake it in an 8 by 8 inch pan, but a similar size baking dish works too.
Simple directions (the way I actually do it)
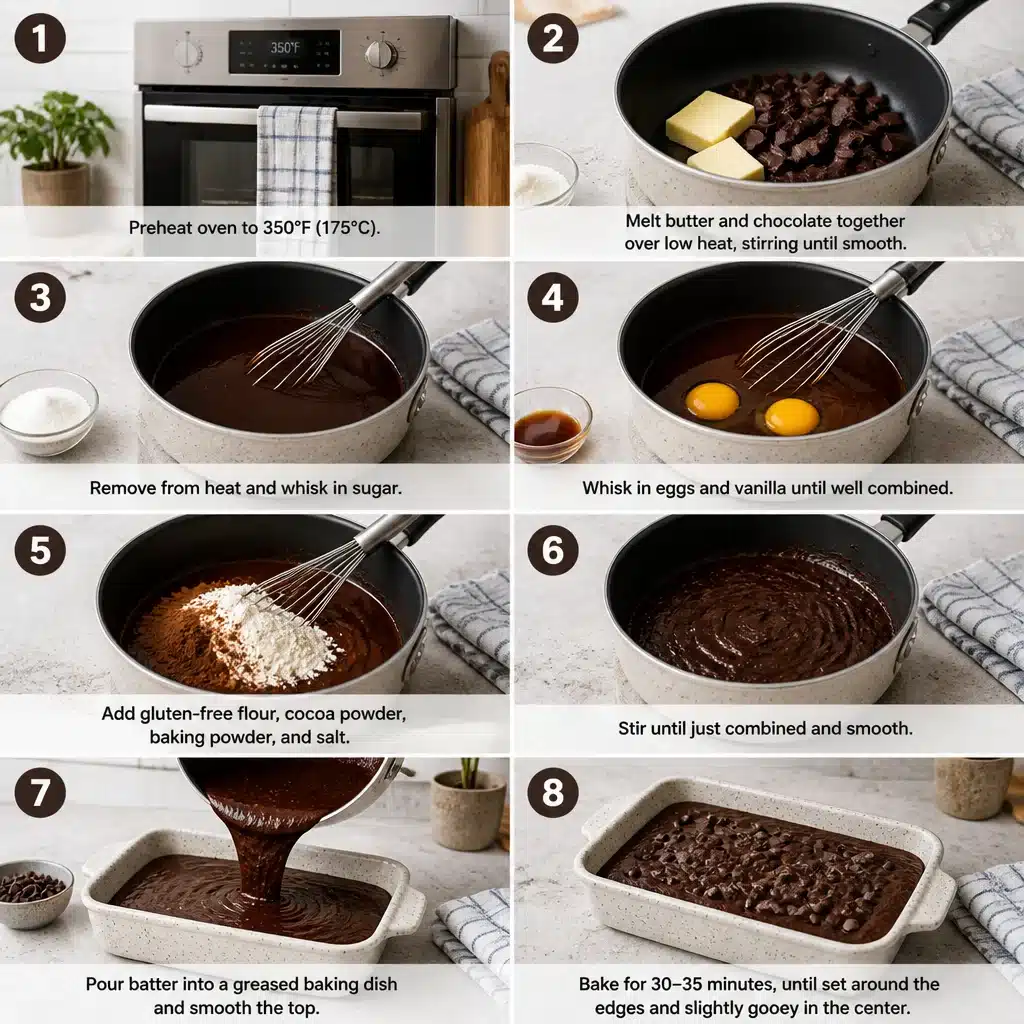
- Preheat your oven to 350 F. Lightly grease your pan or line it with parchment.
- Melt the butter and chocolate together. I do this in the microwave in short bursts, stirring a lot.
- Whisk in the sugar, then the eggs, then vanilla.
- Stir in the cocoa powder, gluten free flour blend, and salt. The batter will look thick and glossy.
- Warm your milk (not boiling, just warm). This helps create that pudding texture once it bakes.
- Spread the thick batter into the pan, then pour the warm milk over it slowly. Do not panic. It looks strange, but it works.
- Bake for about 22 to 30 minutes. The top should look set like brownies, but if you gently jiggle the pan, the center should still look a bit soft.
- Let it sit 10 minutes before scooping. This is hard because it smells amazing, but it is worth it.
I like to serve it warm with vanilla ice cream or whipped cream. If you want a pudding dessert that is simpler and more classic, you can also check out: gluten-free pudding dessert you will love.
Expert Tips & Tricks
I have learned a few things after making gluten free brownie pudding for potlucks, birthdays, and a random Tuesday where I needed chocolate immediately.
My best little tricks for the perfect texture
Do not overbake. This dessert should not pass the toothpick test like a cake. If a toothpick comes out with thick, fudgy crumbs, you are in the right zone.
Warm milk matters. Cold milk can cool down the batter too fast and mess with how the pudding layer forms.
Use good cocoa. You do not need the fanciest brand on earth, just something fresh and not dusty old from the back of the pantry.
Let it rest. Ten minutes of cooling time makes the scoops look prettier and keeps you from burning your mouth. Learned that the hard way.
Salt is not optional. If your chocolate desserts ever taste kind of flat, salt is usually the fix.
“I brought this to a family dinner and my uncle who hates gluten free stuff asked for seconds. He said it tastes like a brownie lava cake. I am still proud of that.”
Also, if your household is split between team cakey brownie and team fudgy brownie, this recipe makes everyone happy because it is both at once.
Storage & Make Ahead Instructions
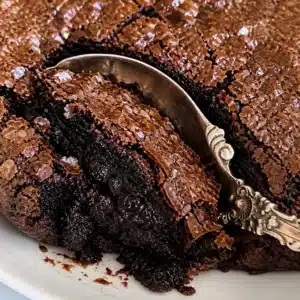
This is one of those desserts that tastes best warm, but leftovers are still very good. The center thickens as it cools, so it becomes more like super fudgy brownies the next day.
To store: Cover the pan tightly or transfer portions to an airtight container. Keep it in the fridge for up to 4 days.
To reheat: Scoop a portion into a bowl and microwave for 20 to 30 seconds. Add ice cream and it is basically a personal sundae situation.
To make ahead: You can mix the thick batter a few hours early and keep it covered in the fridge. When you are ready to bake, let it sit at room temp for about 15 minutes, then continue with the warm milk step and bake.
To freeze: I do not love freezing this one because the pudding center changes a bit, but you can freeze it. Wrap well, freeze up to 2 months, thaw in the fridge, then warm it up gently.
Common Questions
1) How do I know when gluten free brownie pudding is done?
Look for a set, crackly top. The center should still look a little soft when you jiggle the pan. If it looks totally firm all the way through, it probably went a bit long.
2) Can I use a different pan size?
Yes. A 9 by 9 pan works, but it will bake faster and be a little less gooey. A loaf pan can work too, just keep an eye on bake time.
3) Why do I pour milk on top? That feels wrong.
It does feel wrong the first time. The warm milk helps create the pudding layer underneath while the brownie batter rises and sets on top.
4) Can I make it dairy free?
Totally. Use dairy free butter or coconut oil, dairy free chocolate, and a plant milk like oat or almond.
5) What if I only have a single flour, not a blend?
I really recommend a 1 to 1 gluten free blend for this. Single flours can make it gritty or too dense, especially in a gooey dessert like this.
A sweet, chocolatey finish
If you want a dessert that gets real reactions, gluten free brownie pudding is the one. It is cozy, chocolate forward, and honestly easier than most people expect once you try it once. If you want to compare versions, I also like looking at Gluten Free Brownie Pudding – Jessie Sheehan Bakes for extra inspiration. Bake it, scoop it warm, add ice cream, and watch it disappear. And if you do make it, save yourself a little corner for the next day because leftovers are a whole new kind of good.
Gluten Free Brownie Pudding
Ingredients
Main Ingredients
- 1 cup Gluten free flour blend (1 to 1) Use one with xanthan gum included; otherwise, add 1/4 teaspoon.
- 1/2 cup Unsweetened cocoa powder Both Dutch process or natural work.
- 4 oz Chocolate, chopped bar or chips Adds depth to the pudding center.
- 1/2 cup Butter, melted Coconut oil can be substituted with a different taste.
- 1 cup Regular white sugar Brown sugar can be used for a softer flavor.
- 2 large Eggs Provides structure and a fudgy bite.
- 1/2 cup Milk Any milk works; oat and almond are great choices.
- 1 teaspoon Vanilla extract
- 1/4 teaspoon Salt Enhances the chocolate flavor.
Instructions
Preparation
- Preheat your oven to 350°F (175°C). Lightly grease an 8×8 inch baking pan or line it with parchment paper.
- Melt the butter and chocolate together in the microwave, stirring frequently.
- Whisk in the sugar, eggs, and vanilla until well combined.
- Stir in the cocoa powder, gluten free flour blend, and salt to form a thick, glossy batter.
- Warm the milk slightly (not boiling) and pour it over the batter in the pan.
- Bake for about 22 to 30 minutes. The top should be set but the center slightly soft.
- Allow to cool for 10 minutes before serving.