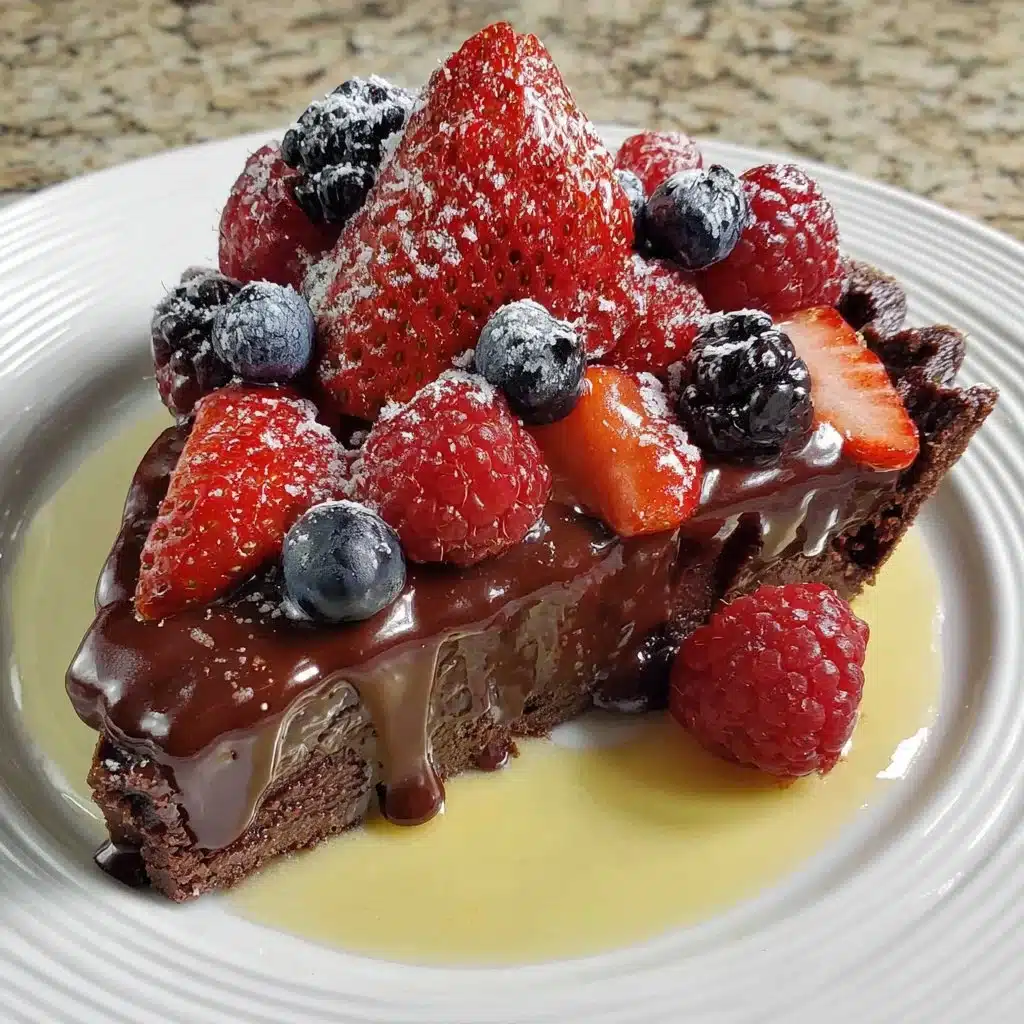
No Bake Chocolate Berry Tart (Gluten Free & Vegan)
I still remember the first autumn I made this No Bake Chocolate Berry Tart (Gluten Free & Vegan): the windows steamed up, leaves blew like confetti, and the kitchen smelled of toasted nuts and cocoa. It became an instant favorite at a neighborhood potluck — a seasonal showstopper that’s surprisingly simple. If you’re a home baker who loves cozy fall treats, this tart gives the same warm, comforting vibe without turning on the oven. For more no-bake cocoa inspiration, you might also enjoy this gluten-free no-bake chocolate cheesecake.
Why this recipe is a reader favorite
- It’s gluten free, vegan, and naturally festive — perfect for hosts with dietary needs.
- No baking required: you can make it in under an hour plus chilling time.
- The chocolate-berry pairing feels indulgent yet bright, ideal for crisp fall afternoons.
Ingredients
For a 9-inch tart pan (serves 8)
Crust
- 2 cups gluten-free rolled oats
- 1 cup almond flour
- 1/3 cup cocoa powder
- 1/4 cup maple syrup
- 1/3 cup coconut oil, melted
- Pinch of salt
Chocolate filling
- 12 oz dairy-free dark chocolate, chopped
- 1 1/2 cups full-fat coconut milk (or any plant milk you prefer)
- 2 tbsp maple syrup (adjust to taste)
- 1 tsp vanilla extract
Berry topping
- 1 1/2 cups mixed seasonal berries (fresh or thawed frozen)
- 1–2 tbsp berry jam or fruit spread, warmed to glaze
Note: If you enjoy rich plant-milk desserts, try pairing or experimenting with textures inspired by an almond milk chocolate pudding.
Step-by-step instructions
Make the crust
- Pulse oats, almond flour, cocoa powder, and salt in a food processor until crumbly.
- Add maple syrup and melted coconut oil; process until mixture clumps when pressed.
- Press the mixture firmly into a 9-inch tart pan with removable bottom. Use the back of a measuring cup for an even base.
- Chill in the fridge while you prepare the filling (at least 15–30 minutes).
Prepare the chocolate filling
- Heat coconut milk in a small saucepan over medium heat until it just begins to steam (don’t boil).
- Remove from heat and pour over the chopped dark chocolate in a bowl. Let sit 2 minutes, then whisk until smooth. Stir in maple syrup and vanilla.
- Pour the silky chocolate into the chilled crust and smooth the top. Tap gently to release air bubbles.
Chill and top
- Chill the tart in the refrigerator until the filling sets, about 2–3 hours. For quicker set, place in the freezer for 45–60 minutes, then move to the fridge.
- Arrange berries on top just before serving and brush lightly with warmed jam to give a glossy finish. If you want a warm contrast, serve slices with a dollop of warmed berry compote or the frozen-to-warm method used in these baked blueberry cottage cheese bowls as inspiration.
Tips for success
- Use good-quality dairy-free chocolate for the best flavor and smooth texture.
- Press the crust firmly and evenly; chilled crust firms up and prevents sogginess.
- If your filling separates, rewarm gently and whisk until smooth again — patience is key.
- For a sharper slice, chill thoroughly and run a warm knife under hot water between cuts.
- Want a crisp contrast? Add a sprinkle of toasted nuts or seeds on the edge; for more crunchy ideas, see this creative take on crisp gluten-free treats like baked gluten-free churros.
Possible variations
- Gluten-free streusel topping: Mix 1/2 cup almond flour, 1/4 cup cold coconut oil, 2 tbsp maple syrup, and a pinch of cinnamon; crumble and bake briefly (if you’re willing to bake the topping separately) for a streusel finish.
- Berry compote: Gently simmer 2 cups berries with 1–2 tbsp maple syrup for 5–7 minutes to make a saucier topper.
- Nut-free version: Replace almond flour with sunflower seed flour to keep it allergy-friendly.
- Mini tarts or individual servings: Divide crust and filling into small tart pans or ramekins for parties.
- Pair this tart at dessert time with a simple cookie for guests who want something to nibble on — try serving alongside easy gluten-free chocolate chip cookies for a playful combo.
Storage recommendations
- Refrigerate: Keep the tart covered with a cake dome or plastic wrap in the fridge for up to 4 days.
- Freeze: Wrap tightly and freeze individual slices for up to 2 months. Thaw in the refrigerator overnight before serving.
- Serving tip: Add fresh berries right before serving; glazed berries kept on the tart can weep over time.
Conclusion
This No Bake Chocolate Berry Tart (Gluten Free & Vegan) brings together the richness of chocolate and the bright lift of berries in a fuss-free, crowd-pleasing dessert. If you want a similar recipe with a slightly different method and flavor profile, check out this excellent rendition: Chocolate Berry Tart (Gluten-Free, Paleo, & Vegan) – Bakerita.
FAQs
- How long does the No Bake Chocolate Berry Tart (Gluten Free & Vegan) need to chill?
- Plan for at least 2–3 hours in the refrigerator for the filling to set fully. For firmer slices, chill overnight.
- Can I use frozen berries for the topping?
- Yes, thaw and drain frozen berries first, or heat into a compote to avoid excess moisture on the tart.
- Is this recipe nut-free?
- The basic recipe uses almond flour; for a nut-free version, substitute sunflower seed flour in equal measure.
- Can I make this tart ahead for a party?
- Absolutely. Make the tart a day ahead, keep it refrigerated, and add fresh berries just before serving to keep them vibrant.
No Bake Chocolate Berry Tart
Ingredients
Crust
- 2 cups gluten-free rolled oats
- 1 cup almond flour
- 1/3 cup cocoa powder
- 1/4 cup maple syrup
- 1/3 cup coconut oil, melted
- 1 pinch salt
Chocolate Filling
- 12 oz dairy-free dark chocolate, chopped
- 1 1/2 cups full-fat coconut milk (or any plant milk you prefer)
- 2 tbsp maple syrup adjust to taste
- 1 tsp vanilla extract
Berry Topping
- 1 1/2 cups mixed seasonal berries (fresh or thawed frozen)
- 1–2 tbsp berry jam or fruit spread, warmed to glaze
Instructions
Make the Crust
- Pulse oats, almond flour, cocoa powder, and salt in a food processor until crumbly.
- Add maple syrup and melted coconut oil; process until mixture clumps when pressed.
- Press the mixture firmly into a 9-inch tart pan with removable bottom. Use the back of a measuring cup for an even base.
- Chill in the fridge while you prepare the filling (at least 15–30 minutes).
Prepare the Chocolate Filling
- Heat coconut milk in a small saucepan over medium heat until it just begins to steam (don’t boil).
- Remove from heat and pour over the chopped dark chocolate in a bowl. Let sit 2 minutes, then whisk until smooth.
- Stir in maple syrup and vanilla.
- Pour the silky chocolate into the chilled crust and smooth the top. Tap gently to release air bubbles.
Chill and Top
- Chill the tart in the refrigerator until the filling sets, about 2–3 hours. For quicker set, place in the freezer for 45–60 minutes, then move to the fridge.
- Arrange berries on top just before serving and brush lightly with warmed jam to give a glossy finish.