
Mochi brownies are the ultimate treat for chocolate lovers who crave a chewy bite with every fudgy square. Made with sweet rice flour instead of wheat, these brownies have that irresistible mochi stretch paired with deep, rich cocoa flavor. Whether you’ve been gluten-free for years or you’re just mochi curious, this recipe brings bold texture and indulgence to your dessert game. In this article, I’ll share my personal story, tips for perfect results, and answer the top questions people ask about baking mochi brownies gluten free and totally satisfying.
Table of Contents
My Mochi Brownies Journey
A chewy twist on a classic chocolate craving
Mochi brownies came into my life when I least expected it during a homesick winter craving for rich Italian brownies. But the usual recipe wasn’t an option anymore. Since discovering my gluten intolerance, recreating beloved desserts meant starting from scratch. One day, while experimenting with mochiko sweet rice flour for my gluten free tiramisu (a recipe still in testing!), I thought what if I gave brownies that iconic mochi chew?
The first batch was a bit of a mess too gooey and underbaked. But by the third try, I had it. A brownie with a glossy crackled top, a deep chocolate flavor, and a stretchy, tender bite. Mochi brownies don’t just mimic a classic they reinvent it.

Mochi Brownies
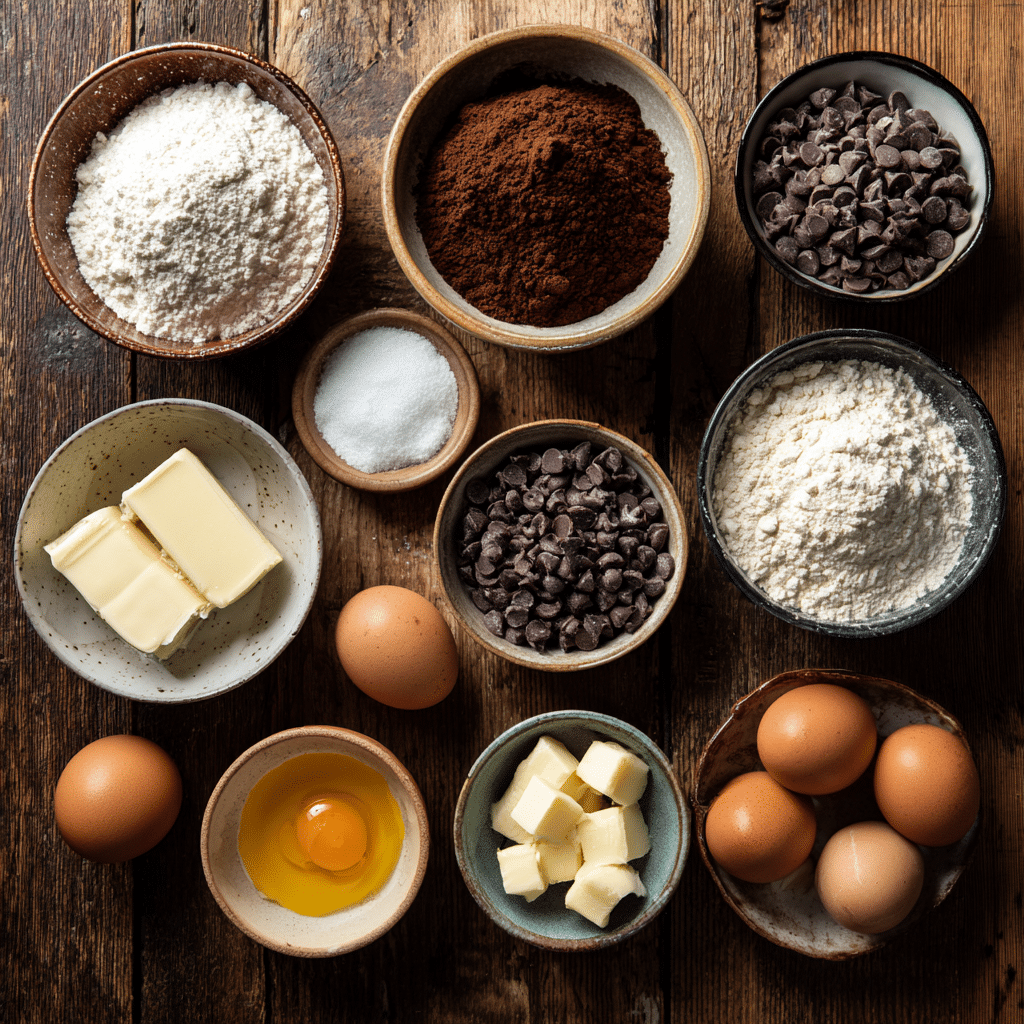
Ingredients
- 1 cup mochiko sweet rice flour
- 1/2 cup Dutch-processed cocoa powder
- 1 cup granulated sugar
- 1/2 cup semi-sweet chocolate chips melted
- 3 large eggs
- 1 cup full-fat canned coconut milk
- 1/4 cup neutral oil like vegetable or canola
- 1 tsp vanilla extract
- 1/4 tsp salt
Instructions
- Preheat the oven to 350°F (175°C) and line an 8×8-inch pan with parchment paper. Grease lightly.
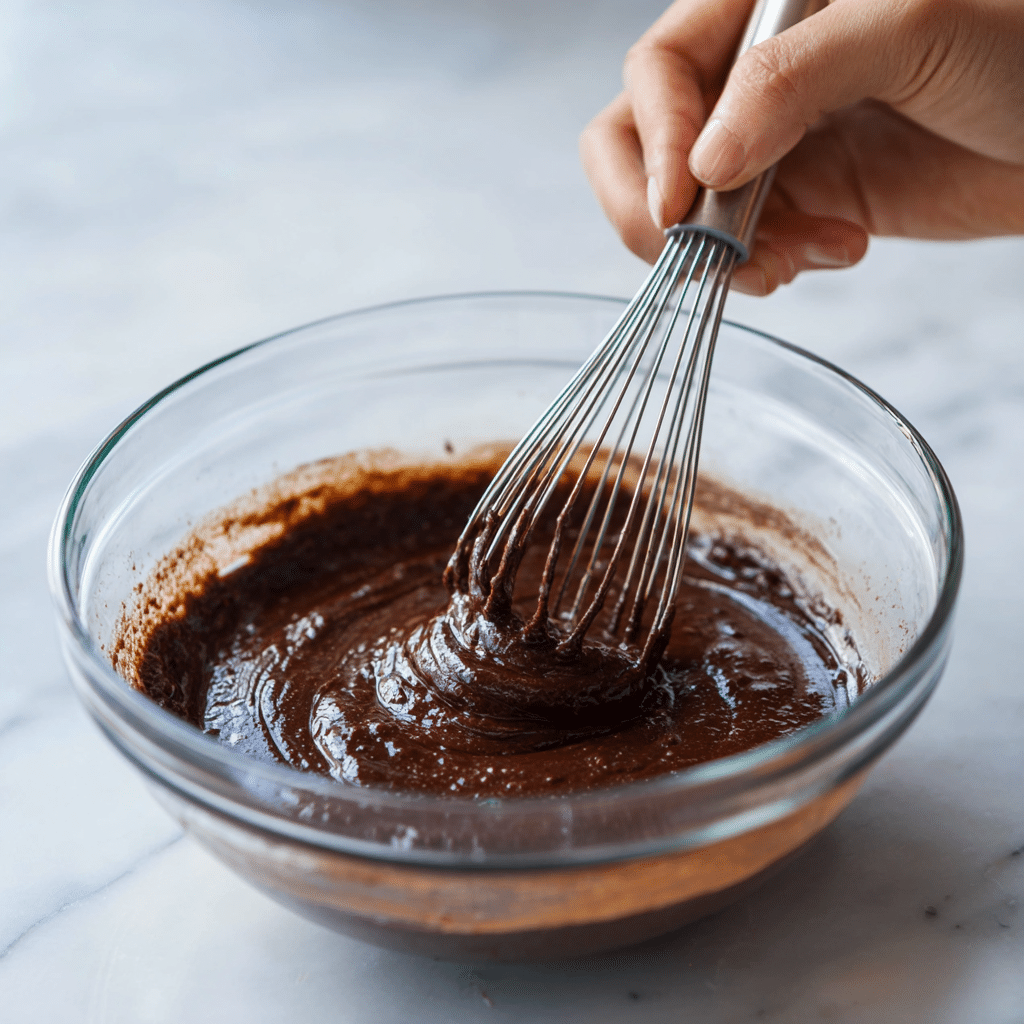
- In a large bowl, whisk eggs, sugar, vanilla, and coconut milk until smooth and sugar is mostly dissolved.
- Stir in the melted chocolate chips and oil until fully combined.
- Add mochiko, cocoa powder, and salt. Mix until you get a smooth batter.
- Pour the batter into the prepared pan and smooth the top.
- Bake for 50–55 minutes until the top is crackly and a toothpick inserted comes out with moist crumbs.
- Cool completely in the pan before slicing with a sharp, lightly oiled knife.
Notes
Nutrition
The magic of mochiko and why it works
Traditional brownies rely on wheat flour for structure, but mochiko (sweet rice flour) brings a unique chew that elevates the texture. It’s naturally gluten free and gives these mochi brownies a dense yet airy feel. Plus, it absorbs chocolate beautifully, allowing flavors to bloom with every bite.
This recipe quickly became a staple in my kitchen and a hit with friends gluten free or not. It pairs beautifully with bold drinks like Vietnamese coffee or a matcha latte. If you’ve tried my gluten-free chocolate chocolate chip cookies, this recipe is the next level of indulgence.
And yes mochi brownies freeze well too! They keep their chewiness when thawed, making them a perfect make-ahead dessert. I serve them alongside my gluten-free blueberry coffee cake for brunch spreads or wrap them in parchment as edible gifts.
Key Ingredients for the Best Mochi Brownies
Why the right flour matters in mochi brownies
The heart of any good mochi brownie is mochiko flour also known as sweet rice flour. It’s different from regular rice flour and crucial for achieving that chewy, elastic texture. If you use regular flour or even typical gluten free blends, you’ll end up with something dense and cakey, not the signature mochi stretch. Stick to trusted brands like Koda Farms for consistency.
Then comes the chocolate. I recommend a mix of cocoa powder and melted chocolate chips. Dutch processed cocoa gives a rich, almost bittersweet depth, while semi sweet chips add body and shine. If you’ve ever made my gluten-free cheesecakes, you’ll know that ingredient quality makes all the difference in gluten free baking.
To tie it all together, coconut milk gives the brownies moisture and richness. I use full fat canned coconut milk, not the kind from cartons. It blends beautifully with eggs, sugar, and vanilla, and the subtle tropical note pairs perfectly with chocolate.
Tips to nail that chewy crackly mochi brownie finish
Want that shiny, crinkled top? Whisk your sugar into the wet ingredients until it fully dissolves. This one step helps create that classic brownie finish even without gluten.
Another must: line your pan with parchment paper and grease it well. Mochi brownies can get sticky, and this trick ensures clean slices every time. And if you’ve loved my vegan cinnamon rolls, you already know I’m serious about texture.
Bake at 350°F for 50–55 minutes. The brownies will puff up, then settle as they cool. Don’t worry that’s part of the magic. Once cool, slice with a clean, sharp knife for those perfect chewy squares.
Mochi Brownie Variations & How to Serve Them
Fun ways to flavor your mochi brownies
Once you’ve mastered the classic mochi brownies base, it’s time to get creative. One of my favorite twists? Matcha mochi brownies. Just swap a tablespoon of cocoa powder with high quality matcha powder for a subtly earthy, vibrant green take. Not only is it visually striking it pairs beautifully with white chocolate chips.
You can also go bold with flavor combos like black sesame, peanut butter swirls, or even ube extract for a pop of color and a nutty sweetness. If you’re feeling indulgent, fold in caramel chunks or toasted coconut flakes before baking.
For a seasonal twist, swirl in pumpkin puree and warm spices like cinnamon and nutmeg during the fall. The chewy mochi texture with pumpkin is surprisingly addictive like a cross between pie and brownie.
Already loving these chewy brownies? You might also like my gluten-free lemon bars or low-sugar cookie recipe for more unique gluten free dessert ideas.
Serving mochi brownies the delicious way
Mochi brownies shine best when cooled completely this helps set the texture and keeps that crinkled top intact. For serving, slice them into small squares (they’re rich!) and dust lightly with powdered sugar or a drizzle of melted chocolate.
They’re perfect on their own, but even better with a scoop of vanilla or coconut milk ice cream. Hosting brunch? Try pairing these with fresh berries and a dollop of whipped cream on a platter. They’re just the right balance between comforting and elevated.
Want to prep ahead? These store wonderfully at room temperature in an airtight container for up to four days. You can even freeze them just wrap tightly and thaw before serving for that perfect chewy bite.

Common Mochi Brownie Mistakes to Avoid
Using the wrong flour
Not all rice flours are created equal. One of the most common errors when making mochi brownies is substituting mochiko (sweet rice flour) with regular rice flour or all-purpose gluten free blends. Mochiko is the only flour that gives that signature chewy texture. Using anything else results in a gritty or dry finish.
Another common issue? Skimping on the full-fat coconut milk. The fat adds depth and moisture. If you’re dairy-free like many of my readers, you’ll know from recipes like my gluten-free dairy-free pizza that fat content matters in structure and flavor.
Overbaking or underbaking
Mochi brownies aren’t like traditional brownies where a gooey center is expected. Instead, you want a set but chewy middle. If they come out dry or crumbly, they’ve been overbaked. But pull them too early, and they won’t hold their shape.
The sweet spot is usually 50–55 minutes at 350°F in a standard 8×8-inch pan. When you insert a toothpick, it shouldn’t be completely clean but it should come out without raw batter. Let the brownies cool completely before slicing for best results.
Bonus tip: use a sharp, lightly oiled knife to slice. This prevents the top from cracking apart and helps maintain those perfect clean squares.
And here’s a little secret these chewy treats are amazing for gluten free meal prep too. Just like my gluten-free meal plan for weight loss, mochi brownies can be wrapped and frozen for later cravings. Defrost them overnight, and you’ll still get that rich texture and bounce.
Conclusion
Mochi brownies have become one of my favorite gluten free desserts to bake and share. They’re rich, deeply chocolatey, and packed with a texture that surprises and delights in every bite. Whether you’re craving something new or need a crowd-pleasing option for your next gathering, this recipe delivers.
As a gluten free chef, I believe great food should never feel like a compromise. Mochi brownies are a delicious reminder of how creative and satisfying gluten free baking can be. If you’re new here, check out more of my recipes at GoldenGlutenFree.com for ideas that feel as good as they taste.
What is the texture of mochi brownies like?
Mochi brownies combine the dense, fudgy richness of classic brownies with the stretchy, chewy bite of mochi. They’re soft, slightly bouncy, and deeply satisfying. The outer crust may be shiny and slightly crisp, while the inside stays moist and chewy like a perfect hybrid between brownie and rice cake.
Can I substitute regular flour for mochiko in mochi brownies?
No regular flour or even standard gluten-free blends won’t replicate the texture of mochiko. Sweet rice flour is what gives mochi brownies their unique chewiness. Substituting with anything else will completely change the structure and mouthfeel. Stick with mochiko for best results.
How do you store mochi brownies to keep them chewy?
Store cooled mochi brownies in an airtight container at room temperature for up to four days. To preserve their chewiness, avoid refrigerating them unless absolutely necessary. You can also freeze them just wrap each square tightly and thaw at room temperature for a perfect, chewy result.