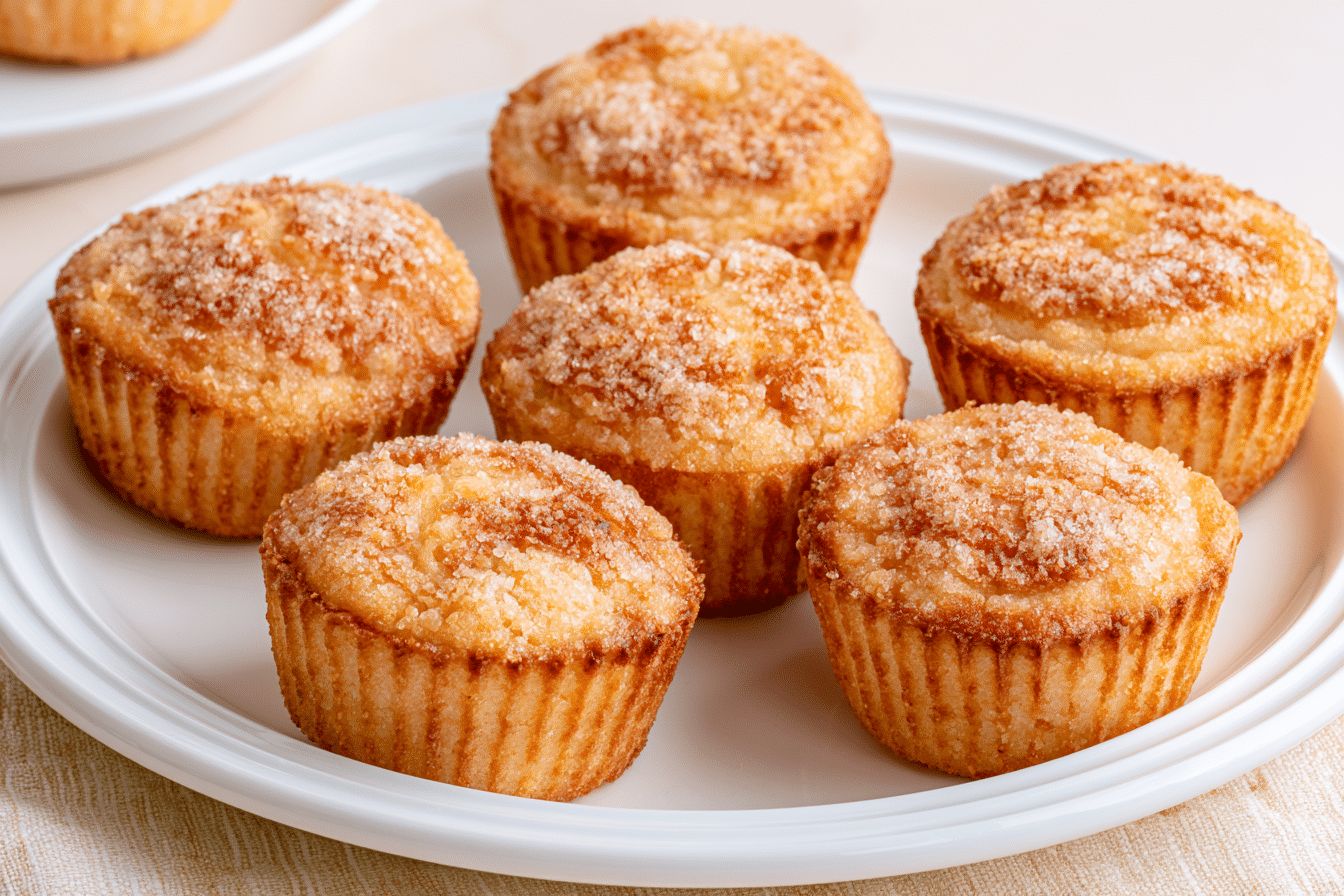
If you’re seeking a treat that’s both crunchy and pleasantly pliable, mochi muffins present a distinctive textural experience. These delightful baked goods feature a satisfyingly firm exterior and a soft, springy interior, making them an excellent snack or dessert. This recipe utilizes sweet rice flour, also known as mochiko, as its foundation. This specialized flour imparts the muffins’ characteristic chewiness. You’ll also incorporate rich coconut milk, melted butter, and fresh eggs for optimal moisture and flavor. A touch of baking powder ensures a perfect rise. Prepare to bake these delicious treats directly in your muffin tin.
Why You’ll Love These Crispy Gluten-Free Mochi Muffins
Discover why these delightful mochi muffins will become your new favorite treat. Their unique texture offers a satisfying crisp exterior that beautifully complements a soft, chewy interior. Preparing them is incredibly simple, often requiring just one bowl and basic ingredients for a truly special snack. A touch of vanilla extract enhances their sweetness, and you can easily adjust the sugar to your taste. Made with sweet rice flour and tapioca starch, these naturally gluten-free muffins are an ideal option for those with dietary restrictions. They are also highly versatile; consider adding matcha or a sprinkle of sesame seeds for extra flavor. After baking, allow them to cool completely, then store them in an airtight container to keep them fresh and delicious for several days. Remember to grease your muffin tin thoroughly to prevent sticking and ensure easy removal.
Understanding the Magic: What Makes Mochi Muffins Crispy?
To achieve the delightful crunch in these sweet rolls, several elements are essential. Initially, incorporating sweet rice flour is fundamental, as this unique ingredient provides a distinct chewiness absent in traditional wheat flour. The fat content, derived from butter and coconut milk, is also crucial, contributing to a rich flavor and the desired exterior texture. Additionally, the sugar content, particularly brown sugar, caramelizes during the baking process, forming a pleasant crust. A higher oven temperature further enhances this effect, ensuring the exterior bakes more rapidly than the interior. This combination results in a treat with a wonderfully textured exterior and a delightfully fluffy and chewy center.
Key Ingredients for Perfect Gluten-Free Crispy Mochi Muffins
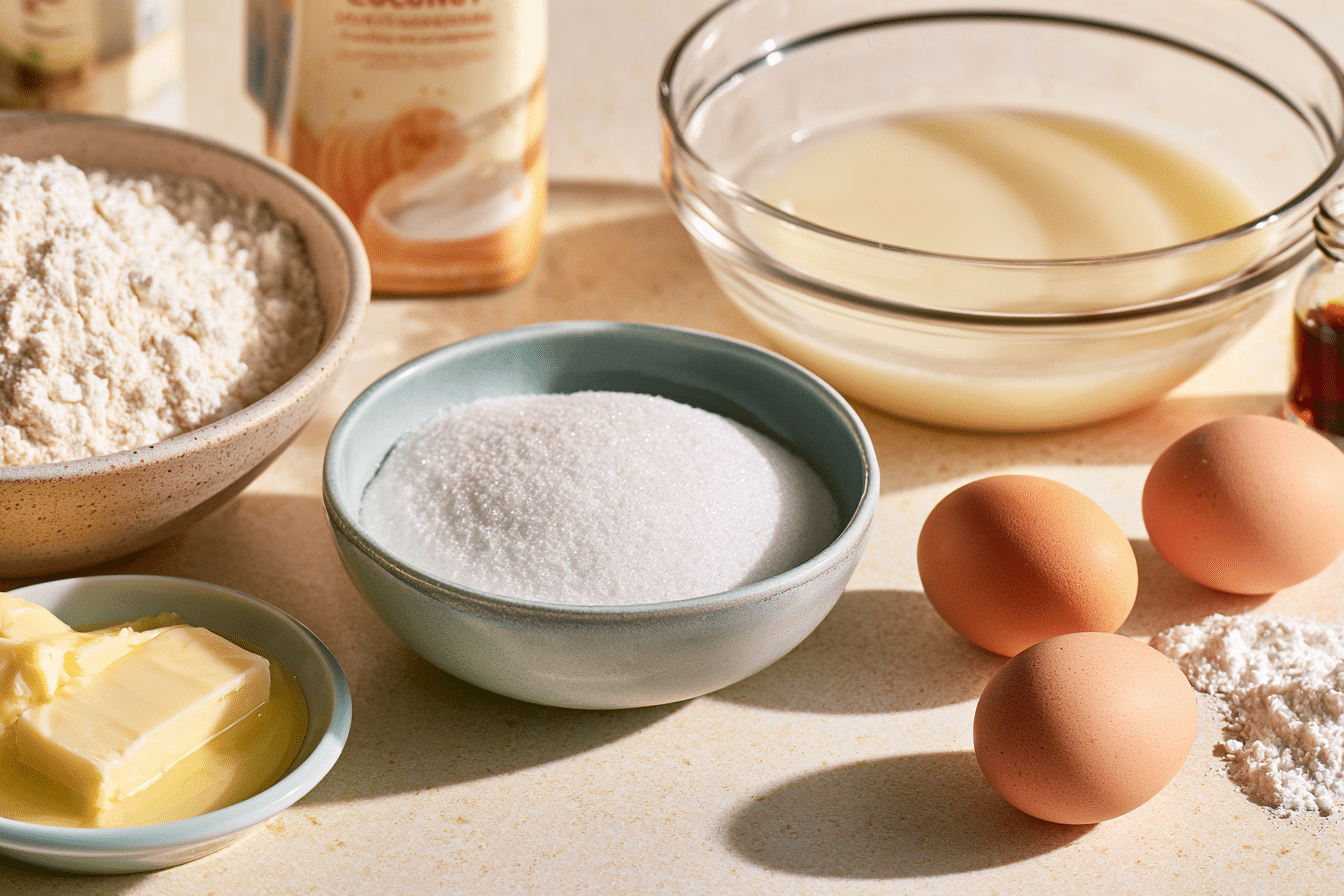
What are the key ingredients for perfect crispy mochi treats? Achieving the ideal texture and flavor in these baked goods relies on a specific combination of components. Each ingredient plays a vital role in creating the characteristic chewiness and delightful crispness. Here are the essential items you will need:
| Ingredient | Quantity/Notes |
|---|---|
| Sweet Rice Flour (Mochiko) | 2 cups; essential for chewy texture |
| Granulated Sweetener | 1 cup; for sweetness and caramelization |
| Coconut Beverage | 1.5 cups; adds moisture and rich flavor |
| Melted Butter | 1/2 cup; contributes to crisp exterior |
| Large Eggs | 2 units; binds ingredients and adds richness |
| Baking Powder | 1 tablespoon; helps with leavening |
| Vanilla Extract | 1 teaspoon; enhances overall taste |
These ingredients work together synergistically. They ensure your treats are both internally chewy and externally crispy. The quality of each component directly impacts the final outcome.
Step-by-Step Guide to Baking Your Crispy Mochi Muffins
How do you bake these delightful mochi treats? Follow these simple instructions for delicious results. This guide will help you create perfectly textured snacks every time.
- Step 1: Preheat your oven to 375°F (190°C). Prepare a 12-cup muffin pan by greasing each cavity thoroughly.
- Step 2: In a large mixing bowl, combine the glutinous rice flour, granulated sweetener, and leavening agent. Whisk these dry components until well blended.
- Step 3: In a separate bowl, whisk together the coconut beverage, two large binding agents, and a dash of flavoring. Ensure they are fully incorporated.
- Step 4: Pour the wet mixture into the dry ingredients. Add the liquefied dairy fat. Stir until just combined; do not overmix the batter.
- Step 5: Divide the batter evenly among the prepared cavities in the muffin pan. Fill each one about two-thirds full.
- Step 6: Bake for 45-55 minutes. The edges should be golden brown and the tops firm. A toothpick inserted into the center should come out clean.
- Step 7: Let the baked goods cool in the pan for 10 minutes. Then, transfer them to a wire rack to cool completely. This ensures their delightful texture.
Expert Tips for the Crispiest Gluten-Free Mochi Muffins
How can you achieve the crispiest gluten-free mochi muffins? Achieving that perfect crisp exterior requires careful attention to detail. First, ensure your oven temperature is accurate. A properly calibrated appliance helps the treats cook evenly and develop a golden crust. Next, consider the type of pan you use. Dark-colored metal pans often promote better browning. Furthermore, avoid overfilling the muffin cups. This allows for better air circulation around each treat, enhancing their texture. For an extra crunch, sprinkle a little coarse sweetener on top before baking. This creates a delightful caramelized layer. Finally, always let your baked goods cool completely on a wire rack. This prevents moisture buildup, which can make them less firm. For more delightful recipes, check out our meal plan for weight loss & muscle gain.
Flavor Variations and Add-ins for Your Mochi Muffins
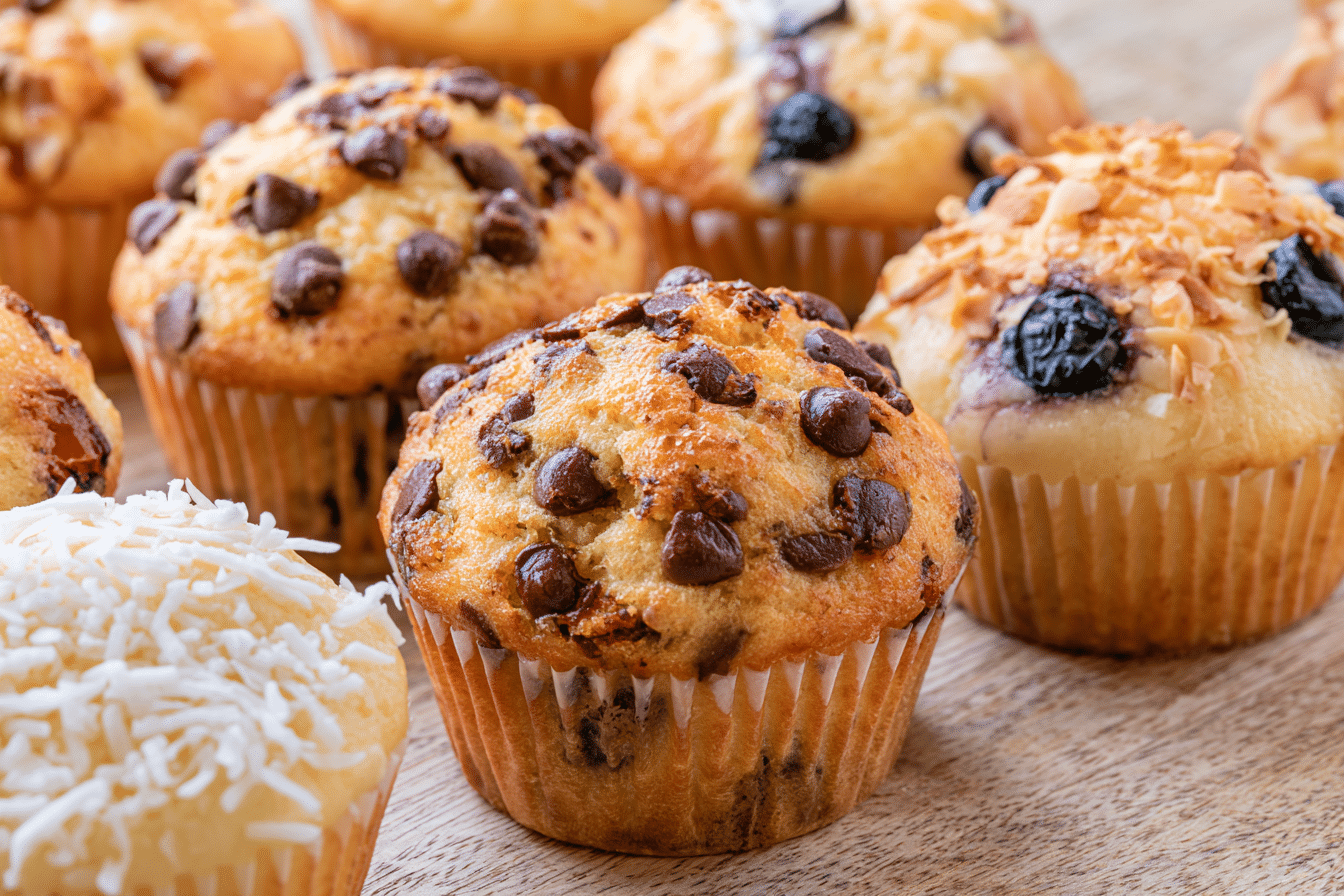
What are some exciting ways to customize your mochi treats? You can easily enhance the taste and texture of your baked goods with various additions. Think beyond the basic recipe. These modifications will make your desserts truly unique. Consider adding different fruit pieces. Diced mango, blueberries, or even mashed banana integrate wonderfully. Furthermore, chocolate morsels or cocoa powder can transform them into a rich, decadent dessert. For a nutty crunch, incorporate chopped pecans or walnuts. Alternatively, shredded coconut adds a tropical twist. Experiment with different spices like cinnamon or cardamom for aromatic depth. These simple changes create delicious gluten free mochi muffins.
Storage and Reheating Instructions
How should you properly keep and warm your delightful treats? Proper care ensures your gluten free crispy mochi muffins maintain their wonderful texture. Following these guidelines will keep them fresh and enjoyable.
- Step 1: Allow your baked goods to cool completely on a wire rack. This prevents condensation, which can make them soggy.
- Step 2: Place the fully cooled items in a sealed container. This will protect them from air exposure.
- Step 3: Keep the container at room temperature for up to three days. For longer preservation, refrigerate them for up to one week.
- Step 4: To refresh, preheat your appliance to 300°F (150°C). Warm the items for 5-7 minutes.
- Step 5: Alternatively, use a microwave for quicker reheating. Heat each item for 15-20 seconds until warm. This method is faster but may slightly alter the texture.
Other Delicious Gluten-Free Mochi Recipes to Try
What other delightful mochi-based treats can you explore? Beyond the classic sweet potato dishes, many variations offer unique textures and tastes. These different preparations highlight the versatility of the primary ingredient. They provide exciting options for your culinary adventures.
| Recipe Type | Key Characteristics |
|---|---|
| Mochi Doughnuts | Chewy interior with a slightly firm crust, often glazed. |
| Mochi Brownies | Dense, fudgy texture with a delightful chew. |
| Mochi Waffles | Golden brown exterior, incredibly chewy and satisfying. |
| Mochi Pancakes | Thick, fluffy, and delightfully bouncy. |
These recipes utilize similar foundational components. However, they achieve distinct and equally enjoyable results. Experimenting with them will broaden your appreciation for this unique ingredient.
Frequently Asked Questions About Crispy Gluten-Free Mochi Muffins
How do you make mochi muffins without gluten?
To prepare mochi muffins without gluten, you primarily use glutinous rice flour. This ingredient naturally lacks gluten. Furthermore, ensure all other components, like leavening agents and flavorings, are certified as completely free from gluten contamination.
What is the secret to crunchy mochi muffins?
The key to crunchy mochi muffins lies in the high moisture content of the batter and the baking process. A slightly higher temperature at the beginning of baking helps achieve that desirable crunchy exterior. This creates a delightful contrast with the chewy interior.
Are mochi muffins inherently free of gluten?
Yes, traditional mochi muffins are inherently free of gluten. They are made with glutinous rice flour, which is naturally without gluten. This makes them a great option for individuals with dietary restrictions. If you’re looking for other gluten-free meal ideas, consider a meal plan for weight loss & muscle gain.
Can I use glutinous rice flour for crunchy mochi muffins?
Absolutely, glutinous rice flour is the essential ingredient for crunchy mochi muffins. It provides the unique chewy texture and contributes to the delightful crunch. Do not confuse it with regular rice flour, as the results will be different.
What’s the best way to keep leftover crunchy mochi muffins?
To preserve leftover crunchy mochi muffins, place them in a sealed container at room temperature for up to two days. For longer preservation, freeze them for up to a month. Reheat frozen muffins in a toaster for a refreshed crunch.
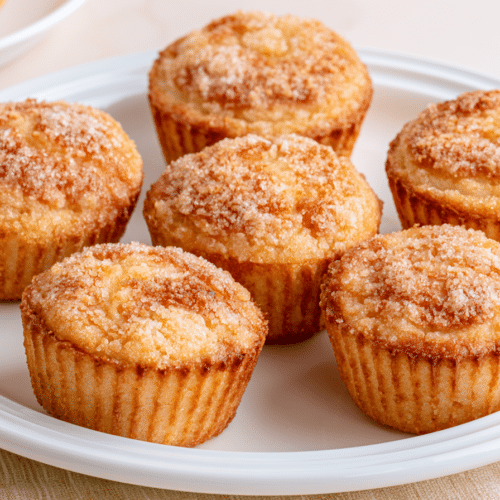
Crispy Gluten-Free Mochi Muffins

Ingredients
- 2 cups Sweet Rice Flour (Mochiko)
- 1 cup Granulated Sweetener
- 1.5 cups Coconut Beverage
- 1/2 cup Melted Butter
- 2 Large Eggs
- 1 tablespoon Baking Powder
- 1 teaspoon Vanilla Extract
Instructions
- Preheat your oven to 375°F (190°C). Prepare a 12-cup muffin pan by greasing each cavity thoroughly.
- In a large mixing bowl, combine the glutinous rice flour, granulated sweetener, and leavening agent. Whisk these dry components until well blended.
- In a separate bowl, whisk together the coconut beverage, two large binding agents, and a dash of flavoring. Ensure they are fully incorporated.
- Pour the wet mixture into the dry ingredients. Add the liquefied dairy fat. Stir until just combined; do not overmix the batter.
- Divide the batter evenly among the prepared cavities in the muffin pan. Fill each one about two-thirds full.
- Bake for 45-55 minutes. The edges should be golden brown and the tops firm. A toothpick inserted into the center should come out clean.
- Let the baked goods cool in the pan for 10 minutes. Then, transfer them to a wire rack to cool completely. This ensures their delightful texture.