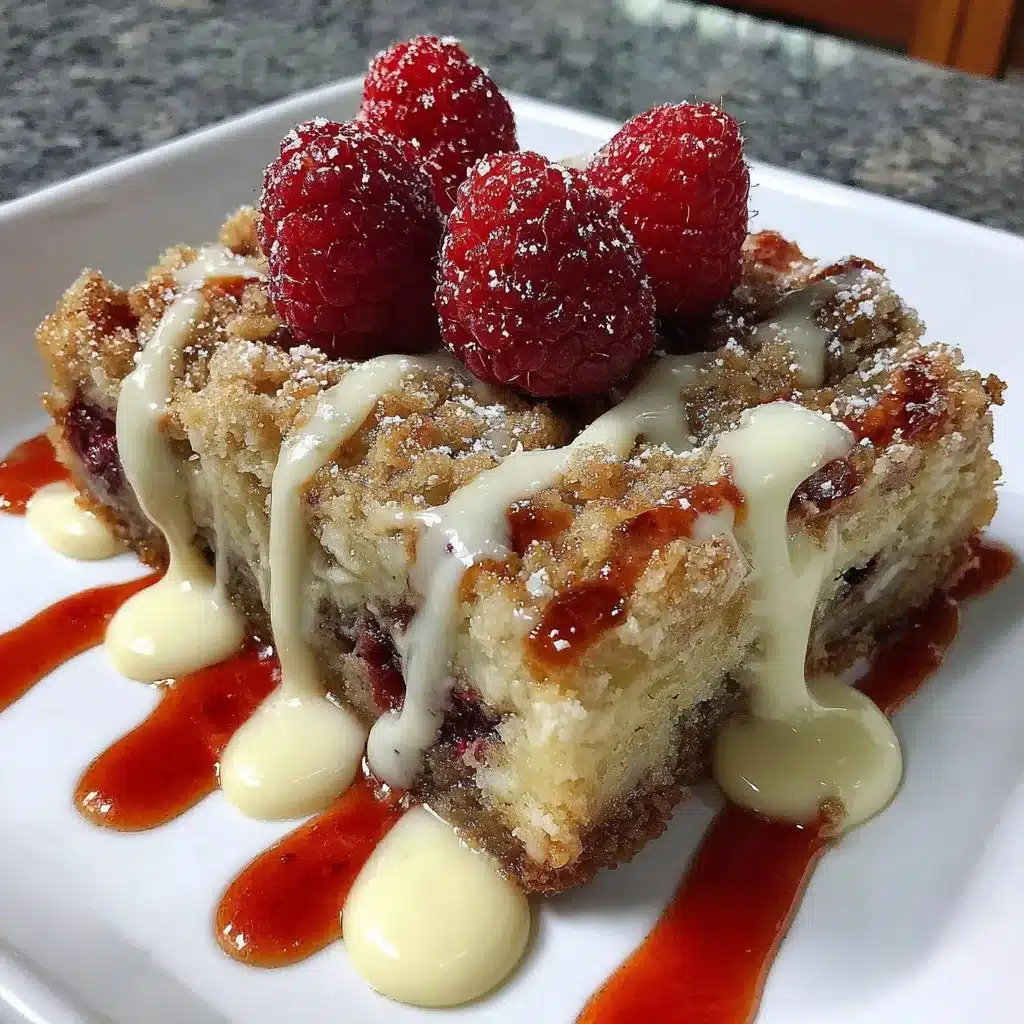
Gluten-Free Raspberry Crumble Bars — On a rainy afternoon with cinnamon-scented tea, I remembered my grandmother pressing warm crumbs into a pan while the kitchen hummed with the oven’s steady rhythm. These Gluten-Free Raspberry Crumble Bars feel like that memory: cozy, slightly tart, and impossibly comforting. If you love seasonal treats, this easy bar recipe becomes a reader favorite because it’s forgiving, fragrant, and perfect for sharing with friends and family. For more ideas on fruit-forward desserts, try this deliciously easy gluten-free fruit crumble that’s great for any gathering.
Ingredients
- For the crust and crumble:
- 1 1/2 cups gluten-free all-purpose flour blend (cup-for-cup)
- 1 cup certified gluten-free rolled oats, lightly pulsed
- 1/2 cup almond flour
- 1/2 cup granulated sugar
- 1/2 cup packed light brown sugar
- 1/2 teaspoon baking powder
- 1/4 teaspoon fine sea salt
- 1 cup cold unsalted butter, cubed (or dairy-free butter)
- 1 large egg
- 1 teaspoon vanilla extract
- For the raspberry filling:
- 3 cups fresh or frozen raspberries
- 1/3 cup granulated sugar (adjust to taste)
- 2 tablespoons cornstarch or tapioca starch
- 1 tablespoon lemon juice
- 1 teaspoon lemon zest (optional)
Note: If you like bright citrus notes in bars, techniques used in this gluten-free lemon bars are useful when balancing tart fruit fillings.
Step-by-step Instructions
- Prep and preheat:
- Preheat oven to 350°F (175°C). Line a 9×13-inch baking pan with parchment, leaving an overhang for easy lifting.
- Make the crumb base:
- In a large bowl, whisk together the gluten-free flour, oats, almond flour, sugars, baking powder, and salt.
- Using a pastry cutter or your fingers, cut in the cold cubed butter until the mixture resembles coarse crumbs with some pea-sized bits.
- Whisk the egg and vanilla, stir into the crumb mixture until it just holds together.
- Press and par-bake:
- Reserve about 1 1/2 cups of the crumb mixture for the topping.
- Press the remaining mixture firmly and evenly into the prepared pan to form the crust.
- Bake for 12–15 minutes until set and just starting to brown.
- Prepare the raspberry filling:
- In a saucepan over medium heat, combine raspberries, sugar, cornstarch, lemon juice, and zest. Cook, stirring, until the fruit breaks down and the mixture thickens (3–5 minutes). Cool slightly.
- Assemble and bake:
- Spread the raspberry filling evenly over the warm crust.
- Sprinkle the reserved crumble mixture over the filling. Gently press some crumbs so they stick but leave some loose for a rustic look.
- Bake for 25–30 minutes until the topping is golden and the filling bubbles lightly.
- Cool and slice:
- Let the bars cool completely in the pan, then chill for at least 1 hour to set the filling.
- Lift out using the parchment overhang and slice into bars. For cleaner slices, chill again and use a sharp knife warmed under hot water and dried between cuts.
Tips for Success
- Use cold butter: Cold butter yields a flakier, more textured crumble. Cut it into small cubes and handle quickly.
- Thicken the filling: Frozen berries release extra juice; increase cornstarch to 3 tablespoons if using frozen raspberries straight from the freezer.
- Prevent sticking: Line the pan with parchment and allow bars to cool fully before slicing to avoid a runny center.
- Make ahead: Bake a day ahead and chill overnight — flavors deepen and bars slice more neatly.
- Kid-friendly tweaks: If baking with little helpers, try smaller pans or muffin tins for individual servings, and check these kid-focused ideas from kid-friendly gluten-free snack bars for inspiration.
Possible Variations
- Streusel topping: Add 1/2 cup chopped nuts (almonds or pecans), cinnamon, and a touch of maple syrup to the reserved crumble for a nutty streusel.
- Dairy-free option: Use firm coconut oil or a plant-based butter substitute measured the same as butter.
- Mixed berries: Swap raspberries for a mix of blueberries and blackberries for varied sweetness.
- Citrus twist: Add extra lemon zest and a splash of orange juice in the filling for a brighter profile.
- Breakfast-style bars: Reduce sugar slightly and add chia seeds or hemp hearts to the crumble for a morning-friendly treat, inspired by these 10 gluten-free breakfast recipes.
Serving & Storage Recommendations
- Room temperature: Keep in an airtight container for up to 2 days.
- Refrigerator: Store for up to 5 days; chilling firms the filling and improves slicing.
- Freezing: Wrap bars individually in plastic and freeze up to 3 months. Thaw in the refrigerator overnight or at room temperature for a few hours.
- To re-crisp: Warm individual slices in a 350°F oven for 5–7 minutes to revive the crumb topping before serving with yogurt or a scoop of dairy-free ice cream. For pairing ideas, try something simple like the savory-to-sweet balance in 10-minute gluten-free avocado toast variations for a brunch spread.
Conclusion
If you want another take on raspberry-filled, crumb-topped bars, check out this thoughtful adaptation at Gluten-Free Raspberry Crumb Bars – Meaningful Eats for additional tips and variations.
FAQs
Q1: Can I use frozen raspberries for these bars?
A1: Yes — frozen raspberries work well. Thaw and drain excess juice or increase the thickener (tapioca or cornstarch) to prevent a runny filling.
Q2: Are these bars suitable for those avoiding oats?
A2: You can replace the rolled oats with additional gluten-free almond flour or crushed gluten-free cereal if oats are a concern, but texture will be slightly different.
Q3: How do I make the bars dairy-free?
A3: Substitute the butter with solid coconut oil or a reliable plant-based butter in the same measure; cold consistency is key to a good crumble.
Q4: Can I make these bars in a smaller pan?
A4: Yes — for a thicker bar, use an 8×8-inch pan and increase bake time slightly, checking doneness by golden topping and bubbling filling.

Gluten-Free Raspberry Crumble Bars
Ingredients
For the crust and crumble
- 1.5 cups gluten-free all-purpose flour blend (cup-for-cup) Make sure it’s certified gluten-free.
- 1 cup certified gluten-free rolled oats, lightly pulsed Pulse before measuring.
- 0.5 cup almond flour
- 0.5 cup granulated sugar
- 0.5 cup packed light brown sugar
- 0.5 teaspoon baking powder
- 0.25 teaspoon fine sea salt
- 1 cup cold unsalted butter, cubed (or dairy-free butter) Use cold for texture.
- 1 large egg
- 1 teaspoon vanilla extract
For the raspberry filling
- 3 cups fresh or frozen raspberries Thaw if using frozen.
- 0.33 cup granulated sugar (adjust to taste)
- 2 tablespoons cornstarch or tapioca starch Increase to 3 tablespoons if using frozen raspberries.
- 1 tablespoon lemon juice
- 1 teaspoon lemon zest (optional) For extra citrus flavor.
Instructions
Prep and preheat
- Preheat oven to 350°F (175°C). Line a 9x13-inch baking pan with parchment, leaving an overhang for easy lifting.
Make the crumb base
- In a large bowl, whisk together the gluten-free flour, oats, almond flour, sugars, baking powder, and salt.
- Using a pastry cutter or your fingers, cut in the cold cubed butter until the mixture resembles coarse crumbs with some pea-sized bits.
- Whisk the egg and vanilla, stir into the crumb mixture until it just holds together.
Press and par-bake
- Reserve about 1 1/2 cups of the crumb mixture for the topping.
- Press the remaining mixture firmly and evenly into the prepared pan to form the crust.
- Bake for 12–15 minutes until set and just starting to brown.
Prepare the raspberry filling
- In a saucepan over medium heat, combine raspberries, sugar, cornstarch, lemon juice, and zest.
- Cook, stirring, until the fruit breaks down and the mixture thickens (3–5 minutes). Cool slightly.
Assemble and bake
- Spread the raspberry filling evenly over the warm crust.
- Sprinkle the reserved crumble mixture over the filling. Gently press some crumbs so they stick but leave some loose for a rustic look.
- Bake for 25–30 minutes until the topping is golden and the filling bubbles lightly.
Cool and slice
- Let the bars cool completely in the pan, then chill for at least 1 hour to set the filling.
- Lift out using the parchment overhang and slice into bars. For cleaner slices, chill again and use a sharp knife warmed under hot water and dried between cuts.