
easy gluten free fruit crumble is my go to move when I want something warm and cozy, but I do not want to babysit a fancy dessert. Maybe you have fruit that is getting soft in the fridge, or you promised to bring something to a get together and totally forgot until the last minute. Been there. This is the kind of recipe that feels special, even though it is honestly pretty low effort. The best part is the smell, that buttery cinnamon thing that makes everyone wander into the kitchen asking what is in the oven. 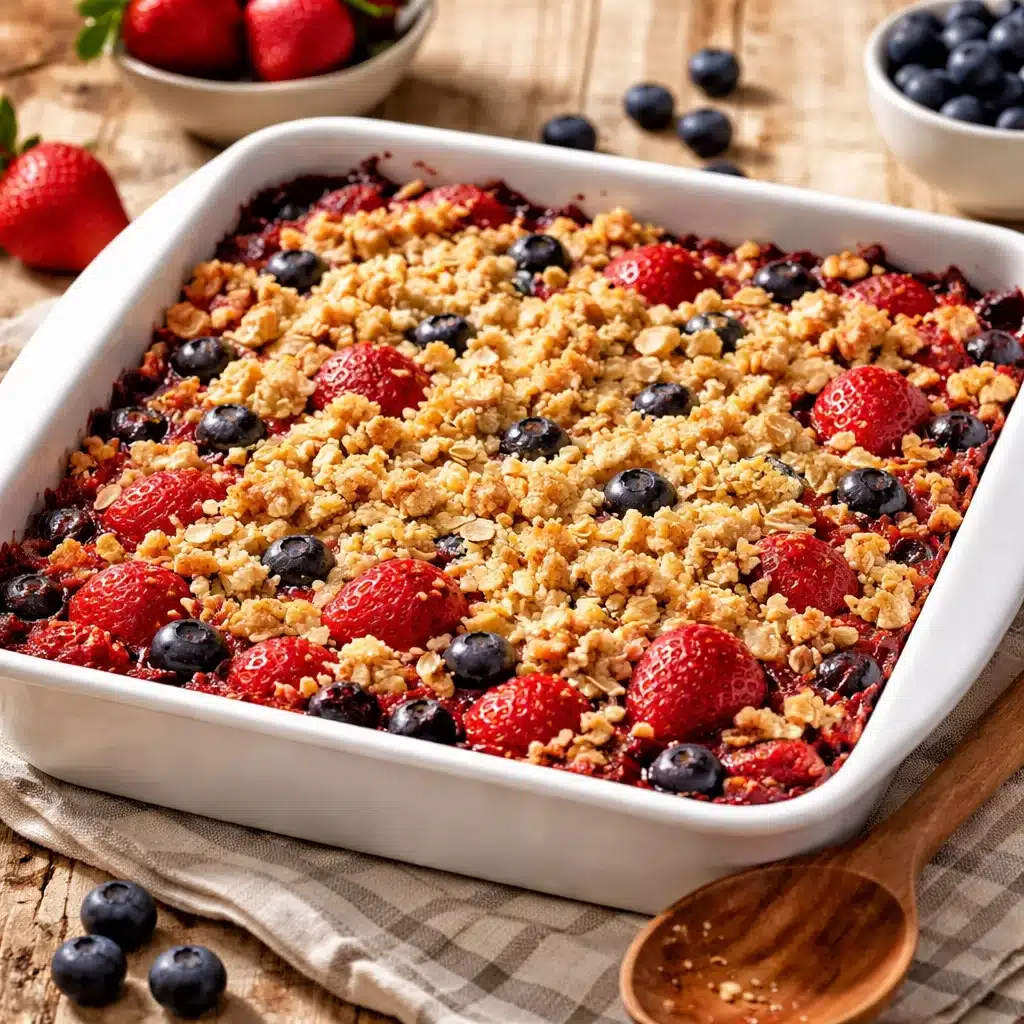
What’s the difference between a crisp and a crumble?
I used to call everything a crisp, until a friend gently corrected me at a potluck and I went home and Googled it like a normal person. Here is the simple version.
A crumble usually has a topping that is more like streusel, meaning flour (or gluten free flour), sugar, and butter mixed into chunky bits. A crisp often includes oats in the topping, which bake up a little more crunchy and, well, crisp. But in real life, people mix and match constantly, especially with gluten free baking.
So what am I making here? I call it a crumble because I like a thick, buttery topping with little nuggets that sink slightly into the fruit. I do add oats sometimes, but I still keep that crumbly texture instead of going full granola.
If you are new to gluten free desserts, do not stress about labeling it perfectly. Just focus on a topping that tastes great and bakes up golden. If you want more sweet ideas for later, I keep a running list in my gluten free desserts collection. 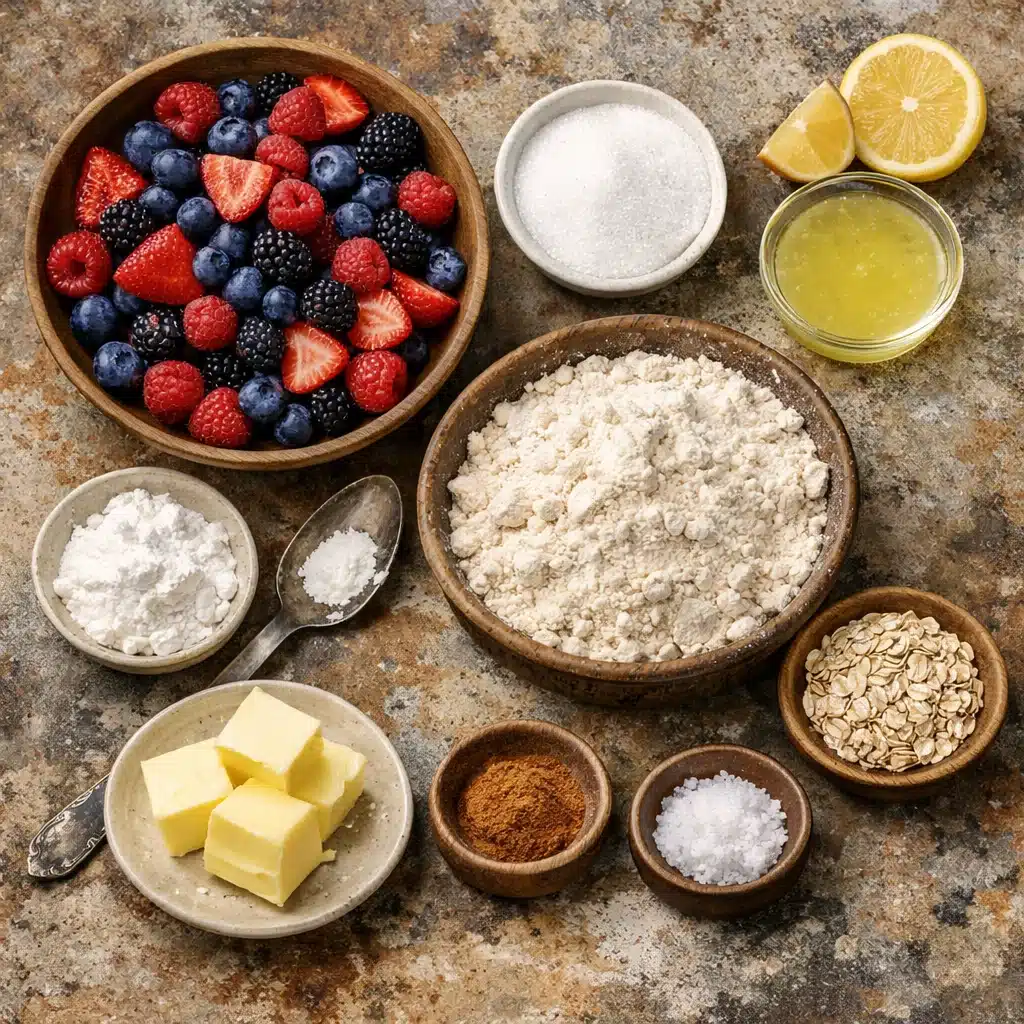
How to make a gluten free berry crumble
This is the version I make most often because berries are easy, they taste bright, and they do not need peeling or chopping. Also, they can be fresh or frozen, which makes this dessert feel possible year round.
What you will need
- Berries: about 6 cups total, any mix you like
- Sugar: enough to sweeten, usually 2 to 4 tablespoons depending on the fruit
- Lemon juice: 1 tablespoon for balance
- Cornstarch or arrowroot: 1 to 2 tablespoons for thickening
- Gluten free flour: for the crumble topping
- Oats: optional, but make sure they are certified gluten free
- Butter or a dairy free alternative
- Cinnamon and a pinch of salt
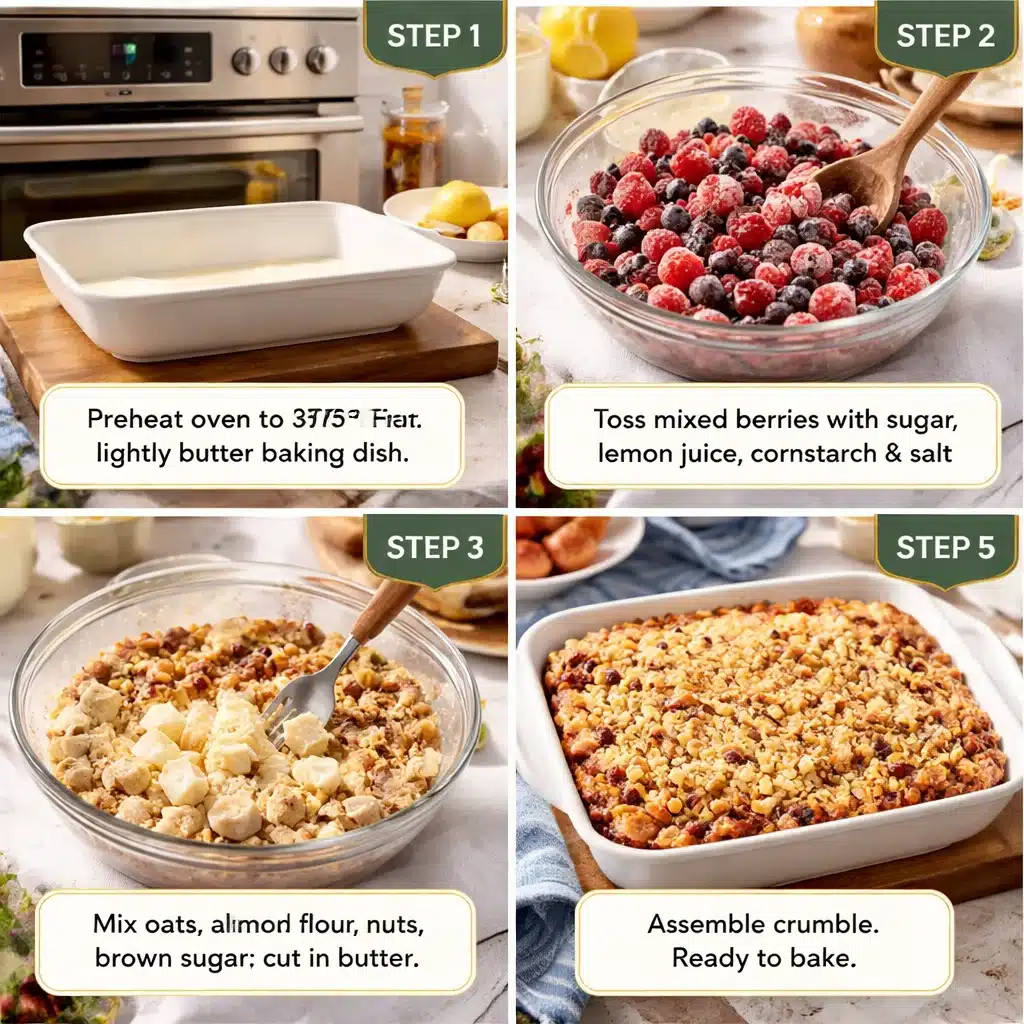
My easy steps (no fuss)
Preheat your oven to 375 F. Lightly butter a baking dish, something around 8×8 or 9×9 works great.
In a big bowl, toss your berries with sugar, lemon juice, cornstarch, and a pinch of salt. Pour that into the baking dish and spread it out.
For the topping, mix gluten free flour, oats if using, brown sugar, cinnamon, and salt. Then add cold butter pieces and mash them in with your fingers until you get clumps. You want it looking crumbly, with some pea sized bits and some sandy bits too.
Sprinkle the topping over the fruit. Bake for about 30 to 40 minutes, until the fruit is bubbling at the edges and the top is golden. Let it sit for 10 to 15 minutes before scooping. That little rest helps it thicken, and also saves your tongue.
This is one of those desserts that feels extra good with something creamy on top. If you are planning a whole gluten free meal, I usually pair it with something simple from my easy gluten free dinner recipes so dessert is the cozy finish without a ton of extra work. ;
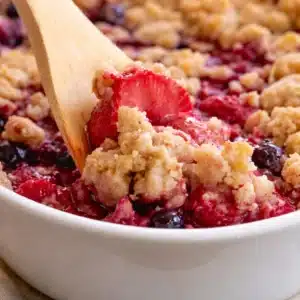
“I made this for a family night and everyone thought it was from a bakery. The topping stayed crisp, the berries were jammy, and it was still great the next day.”
Ideas and Variations
Once you have the basic method down, you can make this in a bunch of different ways without relearning anything. That is why I love it for holidays, random Sundays, and those weeks when you need a win.
Make it fit your pantry
Here are my favorite swaps and little upgrades:
Make it dairy free: Use cold vegan butter sticks. Coconut oil works too, but the topping can spread more and be less clumpy. If you do coconut oil, chill the topping mix for 10 minutes before baking.
Lower the sugar: If your fruit is super ripe, you can cut the sugar back. Taste the fruit first. I know it sounds obvious, but I used to skip that step and then wonder why it was too tart.
Add nuts: A handful of chopped pecans or almonds in the topping gives a great crunch. Toasty and cozy.
Spice it differently: Cinnamon is classic, but cardamom is amazing with berries, and ginger is great with peaches.
Make it mini: Bake in ramekins for cute individual servings. Just start checking at about 20 minutes.
Also, if you are the type who likes a dessert that takes almost no time at all, keep this bookmarked for later and try my 10 minute gluten free chocolate mousse on nights when you cannot wait for the oven.
Popular Crumble Combinations
If you are staring at the fruit bowl right now, here are some combos that basically never disappoint. I have made all of these at least once, usually when I was trying to use up fruit that was one day away from being too sad to eat.
Berry mix: strawberries, blueberries, raspberries. This is the crowd pleaser and the easiest gluten free berry crumble to throw together.
Apple and cranberry: tart and sweet, perfect in fall. Add extra cinnamon.
Peach and blueberry: the peach juices turn syrupy and it smells like summer.
Pear and ginger: cozy, slightly spicy, very underrated.
Mango and pineapple: fun for a brighter, tropical vibe. Add lime juice instead of lemon.
If you are serving brunch and want a few gluten free options on the table, I like doing crumble plus something you can grab with your hands. These easy gluten free breakfast bars are great for that, especially if people are coming in and out of the kitchen.
Gluten free crumble recipe: Ingredients and substitutions
Let us talk ingredients in a practical way, because gluten free baking can get annoying if you do not know what matters and what does not. The good news is this recipe is forgiving.
Fruit filling
Fruit: Use about 6 cups of fruit. If you use frozen berries, do not thaw them first. Just add them straight in and expect the bake time to be a little longer.
Thickener: Cornstarch is easy and works well. Arrowroot also works. If you are using juicy fruit like peaches, lean toward 2 tablespoons.
Sweetener: Granulated sugar, brown sugar, or coconut sugar all work. If you use honey or maple syrup, reduce other liquids slightly, but honestly you can just go for it since it is a crumble and not a cake.
Crumble topping
Gluten free flour blend: I use a simple all purpose gluten free blend. If your blend already has xanthan gum, great. If it does not, you do not need to add anything for this topping. We are not trying to build bread structure here.
Oats: Optional. If you use them, pick certified gluten free oats for safety.
Butter: Cold butter is the trick for chunky topping. If it is soft, the topping turns more like a paste.
Salt: Do not skip it. It makes the fruit taste fruitier and the topping taste more like dessert instead of plain sweetness.
This is also a nice dessert to keep in mind if you are building a full gluten free routine. I pull ideas from my gluten free breakfast recipes list when I want the rest of the day to feel as easy as dessert. And yes, I totally consider crumble a valid breakfast the next morning with a spoon of yogurt.
Common Questions
1) Can I make easy gluten free fruit crumble ahead of time?
Yes. Bake it, cool it, then cover and refrigerate. Rewarm in the oven at 350 F for about 15 minutes so the topping crisps back up.
2) Why is my crumble topping not crunchy?
Usually it is too much butter, butter that was too soft, or the crumble was covered while still warm. Let it cool uncovered for a bit so steam does not soften the topping.
3) Can I use only one fruit?
Absolutely. Blueberries alone are great. Apples alone are great. Just adjust sugar depending on sweetness, and add a little extra thickener for very juicy fruit.
4) What is the best pan size?
An 8×8 or 9×9 baking dish is perfect. If you use a larger dish, the fruit layer is thinner and it will bake faster, so keep an eye on it.
5) Is this safe for celiac?
It can be, as long as your ingredients are certified gluten free and your kitchen avoids cross contact. Oats are the big one to double check, and also flour blends depending on the brand.
A warm, cozy dessert you will actually make again
If you try this easy gluten free fruit crumble once, it tends to become one of those recipes you keep in your back pocket forever. It is flexible, forgiving, and it makes the house smell like something really good is happening. For extra guidance and a slightly more structured approach, this Master Gluten Free Crumble Recipe | for berries or stone fruits is a great reference to compare techniques and ratios. Next time you want an even lighter sweet moment, I also love doing 200 calorie gluten free smoothie bowls when it is too hot to bake. Either way, grab some fruit, make that buttery topping, and let yourself enjoy a dessert that feels like a little reset.
Gluten Free Berry Crumble
Ingredients
Fruit Filling
- 6 cups any mix of berries Can be fresh or frozen; if using frozen, do not thaw.
- 2-4 tablespoons sugar Adjust based on the sweetness of the fruit.
- 1 tablespoon lemon juice For balance.
- 1-2 tablespoons cornstarch or arrowroot For thickening.
Crumble Topping
- 1 cup gluten free flour Use a simple all purpose gluten free blend.
- 1/2 cup brown sugar Can be substituted with granulated or coconut sugar.
- 1 teaspoon cinnamon Spices can be adjusted to personal preference.
- 1/4 teaspoon salt Enhances flavor.
- 1/2 cup butter Should be cold for a chunky topping. Use dairy free alternative if necessary.
- 1/2 cup oats Optional, must be certified gluten free if included.
Instructions
Preparation
- Preheat the oven to 375°F (190°C). Lightly butter an 8×8 or 9×9 inch baking dish.
- In a large bowl, toss the berries with sugar, lemon juice, cornstarch, and a pinch of salt. Pour this mixture into the prepared baking dish.
Crumble Topping
- In another bowl, mix gluten free flour, oats (if using), brown sugar, cinnamon, and salt.
- Add cold butter pieces and use your fingers to mash them until the mixture forms clumps resembling coarse crumbs.
Baking
- Sprinkle the crumble topping evenly over the fruit mixture.
- Bake for about 30 to 40 minutes, until the fruit is bubbling at the edges and the topping is golden brown.
- Let it sit for 10 to 15 minutes before serving to thicken.